
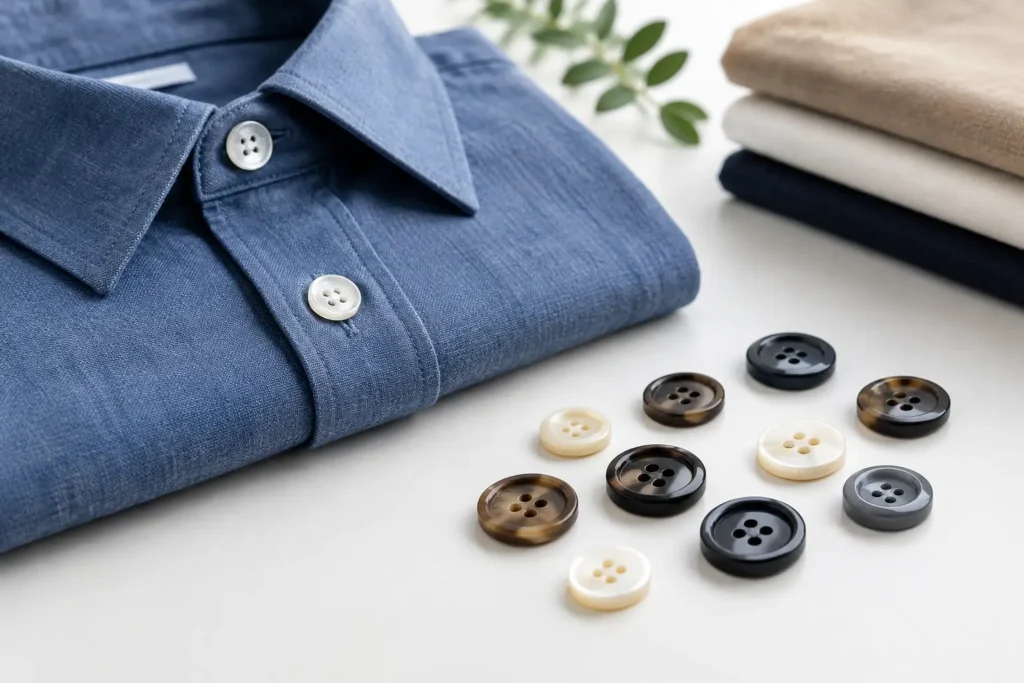
A circular button may look like the most straightforward trim on a garment, but it can create avoidable production issues when the specification stops at diameter and color. For apparel programs, circular buttons need to be defined as components: material, size, thickness, construction, attachment method, finish, logo treatment, and acceptable variation all affect the result on the sewing line and in bulk production.
For brands and garment manufacturers, the practical question is not simply whether a round button can be made. It is whether the selected material and construction can support the garment’s design intent, handling requirements, decoration method, and production schedule. A clear specification turns a visual reference into a button that can be sampled, reviewed, and reproduced with controlled consistency.
Circular Buttons Start With Construction
Circular is a shape, not a complete product specification. Two buttons with the same diameter can behave very differently depending on whether they are sew-through, shank, snap-style, or covered constructions. The correct choice depends on garment weight, button placement, sewing method, and the intended appearance after attachment.
A sew-through button is often appropriate when the design calls for visible stitch detail and a flatter profile. Two-hole and four-hole formats are common, while hole diameter, hole spacing, and countersinking should be defined around the thread and sewing process. Small changes in these details affect stitch visibility and how closely the button sits against the garment.
A shank button places the attachment point on the reverse side, leaving the face uninterrupted. This construction can suit tailored jackets, knitwear, dresses, outerwear, and designs where a logo or decorative surface needs to remain clear of sewing holes. The shank type, height, material, and fixing method should be reviewed alongside the garment fabric. A shank that works well on a structured coat may not be the right choice for a lightweight blouse.
Button thickness also deserves attention. A very thin circular button can appear refined but may limit engraving depth or reduce the visual impact of a molded logo. A thicker profile can give more presence and support deeper surface treatment, but it may feel too heavy or bulky for the garment. The intended balance between appearance and construction should be agreed before sampling.
Size, Ligne, and Proportion on the Garment
Button size is usually specified in millimeters and may also be referenced in Ligne. Because pattern rooms, designers, and trim suppliers may use different systems, it is useful to record both where relevant. More importantly, define where each size will be used: front closure, cuff, collar, pocket, epaulet, or decorative placement.
The same circular button often needs multiple sizes within one style. A jacket program, for example, may use a larger front button and smaller cuff buttons with the same material, finish, and logo treatment. This sounds simple, yet logo readability and hole proportions can change as the diameter decreases. A mark that reads well on a larger button may become unclear or overly shallow at a smaller size.
Garment proportion should guide the selection. Large buttons can make a statement on outerwear or workwear, but they may pull on lightweight fabric or interfere with buttonhole construction. Smaller buttons can suit shirting and fine-gauge knitwear, although very small formats leave less room for logo detail and require careful review of construction tolerances.
A technical pack should identify the nominal diameter, acceptable size range, thickness target, hole or shank details, and whether the edge is flat, beveled, domed, concave, or otherwise profiled. A reference image is helpful, but it should not replace dimensions and written requirements.
Material Changes More Than the Look
Material selection influences surface character, achievable color, decoration options, weight, and natural variation. It also determines which visual expectations are realistic in production.
Corozo can provide a natural, dense appearance with organic grain and is often selected for elevated apparel. Horn, shell, wood, and other natural materials can introduce distinctive character, but visual variation should be expected and approved through physical samples. If a program requires a highly uniform appearance across large quantities, a natural material may require a different approval approach than resin or metal.
Resin can support a broad range of colors, translucency effects, marbling, and molded forms. It is often suitable when the design depends on consistent color development or a precise surface profile. Metal buttons can provide weight, definition, and a range of plated or coated appearances, though the selected construction must suit the garment and intended attachment process. Ceramic can create a hard, refined visual effect but needs project-specific feasibility review for shape, thickness, and handling expectations.
Recycled-content materials may be considered where they fit the design and sourcing brief, but the exact material composition, visual variation, and supporting documentation must be confirmed for the specific order and supply route. Recycled content should not be assumed based on a similar sample or a general material description.
For any material, color expectations need to be practical. Pantone references can guide development, particularly for resin and coated options, but material base tone, surface texture, gloss level, and production variation can influence the final appearance. A matte black horn-effect button and a matte black resin button will not reflect light in the same way, even if both are matched to the same color reference.
Logo Methods Should Match the Surface
A circular face gives designers an efficient area for branding, but the method must fit the material and the scale of the artwork. Engraving, debossing, embossing, laser marking, printed detail, and molded logos each create a different result.
Fine logos need enough line width, spacing, and depth to remain legible after the selected process. Dense artwork, tiny type, or very shallow detail can look acceptable in digital artwork yet lose definition on a physical button. Curved text around the edge requires particular care because its readability changes with button diameter and face profile.
NZXTRIM typically reviews the logo artwork together with the button material, dimensions, and finish before moving toward a production-ready specification. That review is where a concept can be adjusted before tooling or sample development. It is usually less costly to simplify a logo, enlarge a detail, or revise a profile at this stage than after the garment sample has been approved.
Sampling Is Where Specifications Become Real
A physical sample is the most useful checkpoint for circular button development. It allows the product team to judge the face appearance, edge profile, color, logo clarity, attachment construction, and relationship to the actual garment fabric.
Sample review should include the button on the intended garment or a representative fabric. A trim can look balanced on a loose swatch and feel oversized once placed beside a buttonhole, placket, pocket flap, or collar. The sewing thread, buttonhole size, and stitch density can also change the perceived quality of the finished garment.
Use a controlled approval record rather than relying only on informal feedback. The approved sample should be identified by material, size, finish, construction, color reference, artwork revision, and date. If natural variation is expected, the approval should state what range of variation is acceptable. This gives purchasing teams and factories a clearer reference when bulk production begins.
Plan Early for Tooling, Quantity, and Timing
Custom circular buttons may require tooling, especially when the project includes a new molded profile, proprietary shank, embossed artwork, or nonstandard construction. Tooling requirements depend on material and design complexity. Existing forms may shorten development for simple shapes, while a unique face or construction may require a separate development path.
Order quantity matters because it affects the available production approach, material purchasing, setup, and unit economics. There is no single quantity threshold that applies to every button. A plain resin sew-through button and a detailed metal shank button can have very different practical requirements. Confirm feasibility against the exact material, size, decoration, and order volume rather than working from a generic estimate.
Timing should be planned around artwork confirmation, sample review, material preparation, production scheduling, quality review, packing, and delivery arrangements. If a garment launch has a fixed ex-factory date, button development should begin before the final bulk order is needed. Late changes to color, logo artwork, or construction can affect the schedule even when the circular shape itself is standard.
Build the Specification for Repeat Orders
The best button specification is one that a new team member can read and understand without interpreting mood boards or email history. It should include material, nominal size, Ligne where needed, thickness, face profile, back construction, hole dimensions or shank details, finish, color reference, logo artwork revision, decoration method, packaging requirements, and the approved physical sample reference.
For repeat programs, retain this information with garment style records and supplier approvals. If the garment fabric, sewing method, or button size changes in a later season, review the button again rather than assuming the previous component will perform identically in a new application.
A well-developed circular button does not need excessive decoration to add value. It needs the right proportion, a material that supports the intended look, and a specification detailed enough to move confidently from sample to bulk production. Start with the garment’s actual use, then let the construction and material choices follow.