
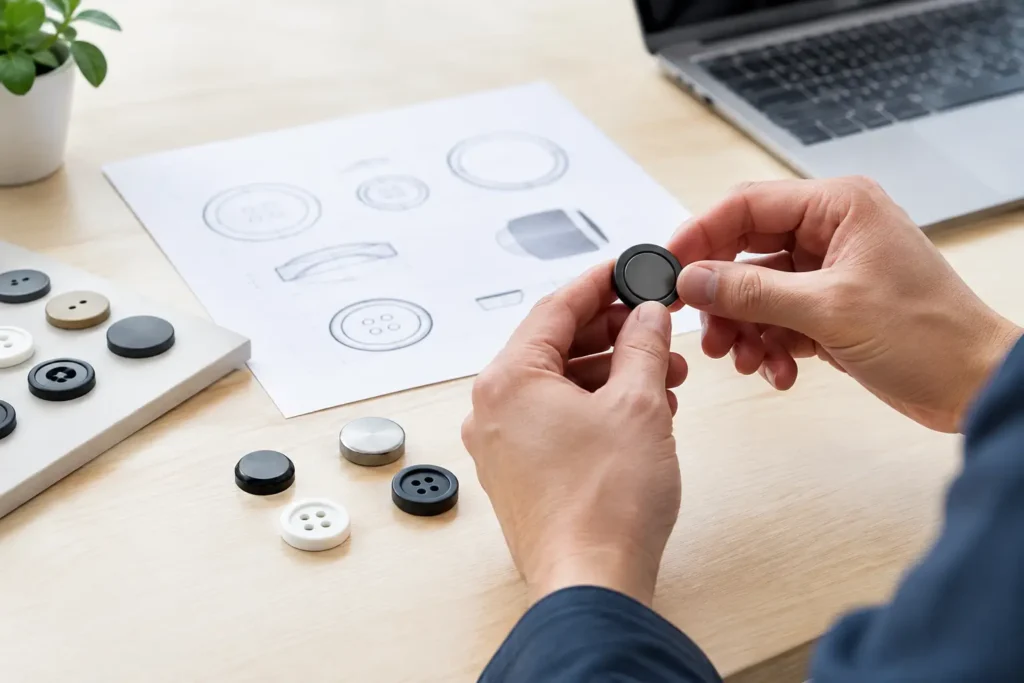
A button prototype assessment is the point where a design concept becomes a manufacturable trim specification. It should confirm more than whether the button looks right on a mood board. Before bulk approval, the development team needs to assess the selected material, finished dimensions, construction, logo definition, color target, attachment method, and likely behavior in the finished garment.
For an apparel program, a prototype button is not simply a presentation sample. It is evidence of what can be repeated at the required quantity. A polished render or a hand-finished one-off may communicate design intent, but it does not automatically establish the tooling, tolerances, finishing sequence, or quality reference needed for production.
What a Button Prototype Assessment Should Establish
The assessment should answer a direct commercial question: can this button be made consistently for the garment program, using an agreed specification and a realistic production route?
That question is best addressed before purchase orders, grading, and factory sewing trials are finalized. Early review can reveal that a logo needs stronger relief, a metal finish changes the perceived color, or a requested size is too small for the intended shank construction. These are manageable adjustments during sampling. They are more disruptive after bulk materials and garment production have been scheduled.
A useful assessment distinguishes between visual acceptance and production acceptance. Visual acceptance covers appearance: material character, color, shape, logo, and surface finish. Production acceptance covers the details needed to reproduce that appearance: dimensions, construction, tolerances, approved reference sample, packing expectations, and the agreed inspection points.
Start With the Garment, Not the Button Drawing
A button cannot be assessed in isolation. The same design may perform differently on a lightweight blouse, a structured wool jacket, a denim overshirt, or a workwear outer layer. Fabric thickness, buttonhole construction, placket layers, machine sewing method, laundering route, and intended end use all affect the appropriate button specification.
The first review should therefore establish the button’s job on the garment. Is it a front closure, cuff button, collar button, decorative trim, or removable component? Is it expected to sit flat against the fabric, stand proud on a shank, or pass through a dense buttonhole? The answers influence material and construction choices before appearance is finalized.
Size should be recorded in both millimeters and Ligne where relevant to the buyer’s system. For multi-size programs, assess each size separately. A logo that reads clearly on a 24 Ligne front button may lose definition on a smaller cuff size. Likewise, reducing a two-hole button may change the usable sewing area and the visual balance of the holes.
Assess Material for Both Appearance and Manufacturing
Material selection determines much of the prototype review. Corozo, resin, metal, ceramic, horn, shell, wood, and recycled material options each have a distinct appearance and different manufacturing considerations. A material that supports a sharp engraved logo may not deliver the same color effect as a dyed resin. Natural materials can also show inherent variation in grain, tone, or surface character.
This variation is not necessarily a defect. For some premium garment programs, it is part of the intended appearance. But it must be agreed in the sample stage rather than treated as an unexpected bulk issue. The assessment should define whether the target is a uniform visual result or a natural range that remains acceptable within the collection.
Color requires the same discipline. A Pantone reference is a useful starting point, but the finished result depends on the base material, pigment or coating route, surface texture, gloss level, and lighting conditions. A matte dark resin and a polished metal button can interpret the same nominal color very differently. Confirm the color against an actual physical sample and retain an approved reference for bulk review.
When a recycled-content request is part of the brief, the applicable material route and documentation scope should be discussed for that specific project. The visual and processing behavior of a recycled-material option may differ from a conventional alternative, so it should be assessed through physical sampling rather than assumed from a digital color chip.
Check Construction Before Refining Decoration
Construction is often where a prototype moves from attractive to practical. The review should confirm whether the design is a sew-through button, shank button, snap-style component, or another specialist construction. For sew-through styles, hole diameter, hole spacing, and edge distance should suit the intended sewing thread and garment equipment. For shank buttons, the shank opening, height, and attachment area need to suit the fabric thickness and sewing process.
Thickness also deserves close attention. A very thin button may be visually refined but can limit logo depth or affect handling during garment sewing. A thicker construction can add presence and improve available space for decoration, but it may feel heavy or create an unsuitable buttonhole relationship. There is no universal correct thickness. The right choice depends on the garment, material, size, and desired profile.
For metal buttons and mixed-material constructions, review the joint between components as part of the prototype. A visible insert, cap, or shank should be evaluated for alignment and finish consistency. If the design includes moving parts or a nonstandard assembly, clarify how the approved sample will be referenced during bulk inspection.
Review Logo Methods at Actual Button Size
A logo should be assessed on the physical button, at the production size, not enlarged on a screen. Fine linework, small text, narrow gaps, and complex symbols can lose clarity when engraved, debossed, embossed, laser-marked, or molded into a small surface.
The right method depends on the material and intended look. Debossing and embossing create depth but need enough surface area and relief to remain legible. Laser marking can offer controlled detail on suitable materials, while engraving may create a different edge quality and depth. Filled decoration can improve contrast, but it introduces another appearance variable that needs approval.
If the logo is central to brand recognition, ask for a physical sample with the final artwork rather than approving a generic button shape first. A simplified mark may produce a stronger and more repeatable result than an exact reproduction of a detailed corporate logo. This is a design trade-off, not a loss of brand intent.
Use a Controlled Sample Approval Process
A practical prototype assessment works best when comments are consolidated. Separate feedback from design, sourcing, garment development, and quality teams can otherwise create conflicting revisions. One decision-maker or agreed approval group should issue a single revision record that identifies what is approved, what must change, and what remains under review.
The sample record should include the material, size, thickness, construction, finish, color reference, logo artwork version, and sample date. Photographs are useful supporting records, particularly for showing placement on a garment, but they should not replace the retained physical approval sample.
For a program with several button sizes or colorways, specify whether each variant requires a separate prototype. Often it does. A family can share core tooling logic or a common finish direction, yet small-size readability and color appearance still need individual confirmation.
At NZXTRIM, prototype development is most effective when the button brief includes garment fabric, intended application, target size, artwork, color reference, quantity forecast, and required delivery window. This allows the sample route to be selected with the full production context in view.
Move to Bulk Only When the Open Questions Are Closed
Bulk production should follow an approved physical reference and a complete specification, not an email statement that the button is “approved.” That phrase can mean different things to a designer, buyer, and factory. A usable approval identifies the exact version being accepted and any allowable variation that has been discussed.
Before release, confirm the bulk quantity by size and color, packing format, shipment timing, and any garment-factory requirements for labeling or delivery sequencing. Lead time depends on material availability, tooling needs, sample revisions, finish route, order quantity, and shipping plan. These factors should be reviewed together rather than treated as separate purchasing tasks.
A well-run prototype assessment does not make every decision permanent. It makes the right decisions visible early, while material, construction, and logo details can still be adjusted without disrupting the garment program. Keep the approved button beside the final garment fabric, buttonhole, and sewing thread. That physical comparison is often the clearest basis for a confident bulk release.