
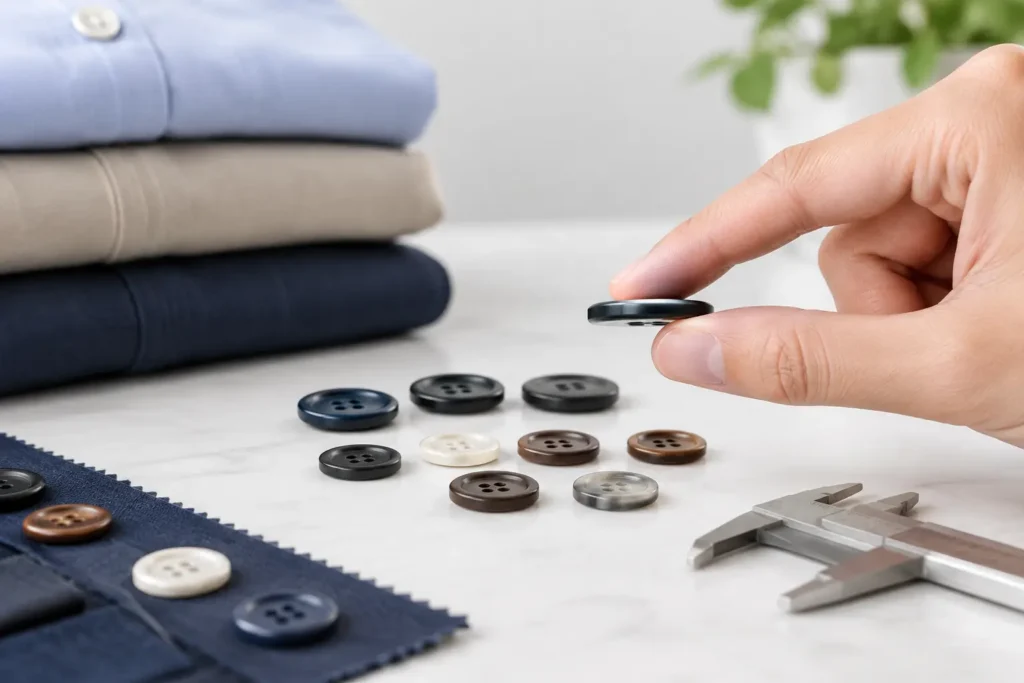
A button that looks correct in a digital sketch can still create problems on the production line. If it is too thick, the placket may gap, buttonhole machines may require adjustment, and packed garments can look bulky. If it is too thin, the button may feel insubstantial, sit awkwardly above the fabric, or lack the visual weight intended for the garment. Knowing how to choose button thickness means specifying the button as part of the whole garment construction, not as an isolated decorative component.
For most apparel programs, thickness should be decided after the button diameter, material, attachment method, fabric weight, placket construction, and wash or wear expectations are understood. A physical sample remains the most reliable way to confirm the relationship between these factors before bulk production.
Start with the Garment Construction
The fabric and fastening area set the practical limits for button thickness. A lightweight poplin shirt, for example, generally needs a lower-profile button than a heavy overshirt, wool coat, or padded outerwear style. The goal is not to make every button as thin as possible. It is to make the closed garment lie correctly without creating excess pressure at the buttonhole or an uneven front edge.
Assess the total thickness at the fastening point, including shell fabric, interfacing, placket folds, lining, and any reinforcement. A thick button on a thin single-layer placket can pull the fabric forward. Conversely, a very flat button on a substantial jacket front may visually disappear and be harder to handle.
Buttonhole length also matters. It must accommodate the button’s widest effective passage dimension, which can be affected by both diameter and profile. A domed 18 mm button may need different buttonhole clearance than a flat 18 mm button, even if their stated diameter is identical. Product developers should review the button and buttonhole as one specification.
Consider the Button Profile, Not Only the Measurement
Thickness is typically measured from the button back to its highest point, but this measurement does not fully describe its shape. A flat four-hole button, a softly domed sew-through button, and a shank button can have similar overall thickness while behaving very differently when attached.
A higher center profile gives a button more visible depth and can create a premium, substantial appearance. It may suit tailored jackets, denim, workwear, and outerwear. However, the raised profile changes how the button passes through the buttonhole and how closely the garment fronts meet.
A flatter profile usually suits shirting, uniforms, blouses, and lightweight garments where a clean, low-bulk finish is required. It can also support easier stacking and packaging, although packing performance should be reviewed with the complete finished garment rather than assumed from the button alone.
How to Choose Button Thickness by Material
Material affects both the feasible thickness range and the visual result. Two buttons with the same dimensions can differ significantly in perceived weight, edge definition, and production tolerance.
Corozo can be developed with a clean flat face, a curved profile, or a more substantial rim, but its natural structure must be considered when deciding fine details and very thin sections. Resin offers broad freedom for color, translucency, molded profiles, and logo effects. It can be useful where a specific Pantone reference or repeatable visual effect is central to the program, subject to approved sample tolerance.
Metal buttons often appear thinner than their visual weight suggests because of their density and construction. A metal cap, tack button, or shank button may create a strong hardware presence without requiring the same solid-body thickness as a molded button. The attachment system, garment reinforcement, and potential contact with surrounding fabrics need review.
Natural horn, shell, wood, and ceramic each have their own limitations and variation. Their appearance can benefit from depth, but thickness should not be specified from a photograph alone. Grain, luster, natural shade variation, edge finishing, and construction all affect the finished result. The feasible profile must be confirmed for the selected material and design.
For recycled or specialist materials, do not assume that a conventional button thickness can be copied without change. Material formulation, filler content, finish, color development, and molding behavior may affect the practical profile. Recycled content and any related material claims should be verified for the specific button, order, and supply route.
Match Thickness to the Attachment Method
A four-hole or two-hole sew-through button relies on thread to create clearance between the button and the garment. This thread shank is often overlooked when teams assess total bulk. A thick sew-through button combined with a high thread shank can leave too much space, allowing the button to tilt or catch during wear.
With a shank button, the shank construction creates its own stand-off distance. The button face may sit above the fabric even when the visible cap is relatively thin. This can be desirable on coats and tailored garments, but it requires careful review on lightweight fabrics where the attachment point may distort.
Stud, tack, snap, and jean-button constructions introduce different concerns. Here, the visible button thickness is only one dimension of the fastening system. The back component, post length, reinforcement layers, and installation method must be compatible with the garment. A visual concept should become a production-ready specification only after the full fastening construction has been sampled.
Use Diameter and Ligne as a Starting Point, Not a Rule
Button diameter and Ligne size help establish proportion, but there is no universal thickness ratio that works across every material and garment category. A 20 Ligne shirt button may be intentionally slim for a refined dress shirt or more rounded for casual apparel. A 32 Ligne jacket button can be flat and architectural, or deep and traditional.
Rather than asking for a “standard thickness,” define the intended appearance and use case. Useful language includes flat, low dome, high dome, recessed edge, raised rim, thick edge, or slim profile. Add a target thickness range once the material and tooling approach are understood.
A range is often more practical than a single nominal figure, particularly for natural materials or designs with hand-finished effects. The acceptable tolerance should be agreed through approved samples and quality review. This protects the visual intent while allowing for realistic production control.
Check the Operational Trade-Offs Early
Thickness affects more than appearance. It can influence buttonhole settings, sewing machine setup, attachment speed, packaging volume, garment pressing, and the way a finished garment hangs on a hanger. These effects are especially relevant when a button is being introduced into an existing production line that was set up for another construction.
A thicker button may support a more distinctive brand expression, but it can require more clearance in the buttonhole and closer attention during garment assembly. A thinner button can reduce bulk, but very thin profiles may limit engraving depth, debossed logos, or edge treatments. If a logo is required, the chosen marking method should be considered alongside the button profile. Laser marking, engraving, embossing, and debossing each need adequate surface area and material depth to produce a legible result.
Color is another practical variable. A thick translucent resin button may show depth and internal variation differently from a thin version of the same color. For opaque materials, thickness can still affect perceived shade through surface texture, gloss level, and curved reflections. Pantone development should therefore be approved on the actual button shape and finish, not on a flat color chip alone.
Specify Thickness Clearly for Sampling
An effective button brief does not stop at “25 mm resin button, black.” It states the dimensions, construction, face profile, back profile, hole or shank configuration, finish, logo requirement, and intended garment. Include the garment fabric or a clear description of its weight and placket build where possible.
For a new development, request samples that allow comparison between at least two practical profiles when the visual direction is not settled. For example, a low-dome and medium-dome version can quickly show whether the garment needs more presence or less bulk. Review samples on the actual garment or representative fabric layers, with the intended buttonhole and sewing method.
NZXTRIM can support this process by translating a visual reference into material, construction, tooling, and sample considerations. Final feasibility, production tolerance, order quantity, and schedule should be confirmed for the specific design rather than assumed from a prior button program.
Decide After Wear and Production Review
A sample that looks good loose on a table may perform differently once sewn, pressed, packed, and repeatedly opened and closed. Review whether the button passes comfortably through the buttonhole, whether the placket remains aligned, whether the attachment sits stable, and whether the profile supports the intended garment appearance.
For uniforms, workwear, childrenswear, outerwear, or other programs with defined performance expectations, establish the required review scope before bulk approval. Requirements vary by market, garment category, material, and supply route, so they should be confirmed for the actual program.
The best button thickness is the one that preserves the garment’s silhouette, works with its fastening construction, and can be reproduced consistently at production scale. Set the visual direction first, then validate it with physical samples before the specification is locked.