
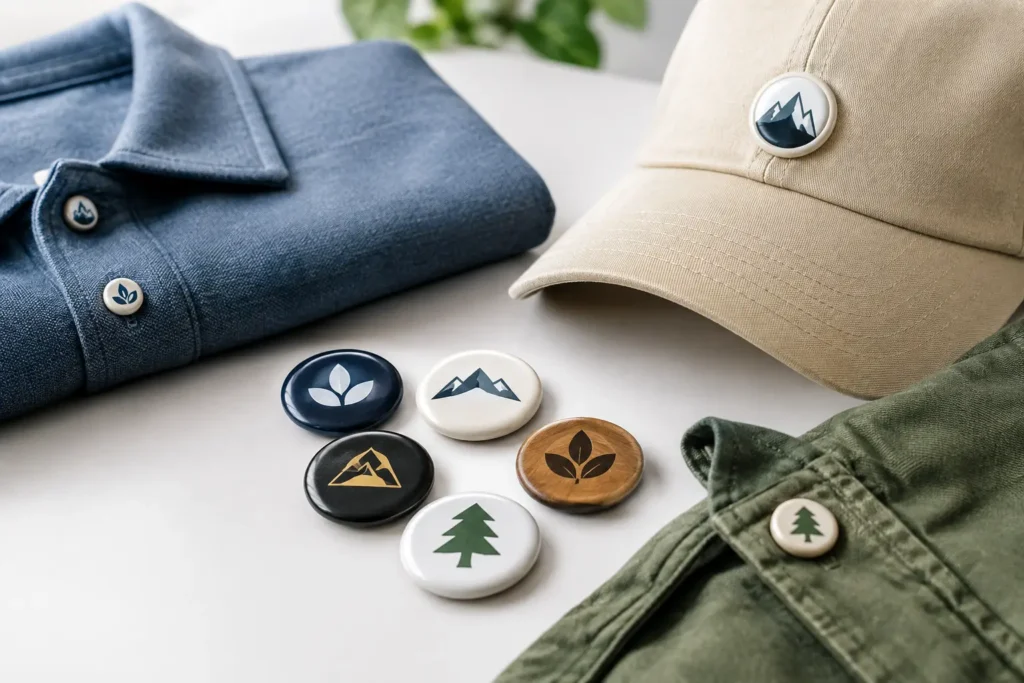
A logo that looks precise in a digital drawing can lose definition once it is reduced to a 15 mm shirt button, formed on a curved surface, colored, finished, and handled in bulk production. The best button logo methods are therefore not chosen by appearance alone. They depend on the button material, logo artwork, button size, construction, required durability, and the consistency needed across a garment program.
For production teams, the useful question is not simply, “Which method looks best?” It is, “Which method can reproduce this logo clearly and consistently on this button specification?” A raised mark may suit a molded resin button, while a fine serif wordmark may be more suitable for laser marking on metal or wood. Early feasibility review prevents a visual concept from becoming an expensive tooling revision later.
Best Button Logo Methods: Match the Method to the Material
There is no universal logo process for custom clothing buttons. Each method creates a different visual effect and places different limits on line width, depth, color contrast, and surface shape. The following methods are commonly considered for branded garment buttons.
Engraved and debossed logos
Engraving or debossing cuts the logo below the button surface. It is a practical option for metal, corozo, horn, shell, wood, resin, and selected specialist materials, subject to the material structure and finish. The recessed mark can be left natural or filled with color where the design and production process allow.
This method gives a controlled, tactile result and works well for brand names, monograms, and simple symbols. However, very thin strokes, small counters inside letters, and tightly spaced details may fill in visually at small button sizes. A debossed logo also needs sufficient depth to remain readable after finishing, washing, abrasion, and normal garment handling requirements are assessed for the project.
For a clean result, provide vector artwork and avoid treating a screen-sized logo as production-ready button artwork. The manufacturing team should review minimum line thickness, logo scale, and whether the design will sit on a flat face, a domed face, or a recessed center.
Embossed and raised logos
An embossed logo sits above the surface rather than below it. It can create a premium dimensional appearance, especially on molded polyester, resin, ceramic, or metal button constructions. Raised branding is often effective for bold icons and short letterforms because light catches the edge of the relief.
The trade-off is that the logo is more exposed. Sharp, narrow raised elements can be vulnerable to visual wear or incomplete formation if they are too fine for the material and molding process. A design with broad strokes, rounded corners, and sensible spacing usually produces more stable results than a detailed crest.
Button construction matters here. A four-hole button with a central raised logo may require a different layout from a shank button, where the entire face is available for branding. The logo should not interfere with stitch holes, edge bevels, shank attachment, or the intended buttoning function.
Laser-marked logos
Laser marking applies a logo through controlled surface marking rather than physical relief. It is frequently considered for wood, shell, horn, metal, resin, and coated surfaces, but the final appearance varies widely by substrate. On one material the mark may be dark and high contrast; on another, it may be subtle or change with the grain, dye, plating, coating, or natural variation.
This makes laser marking useful for fine detail, serial visual effects, and designs where adding a separate color is not required. It may also avoid the need for dedicated logo tooling in certain projects, although the full button development process still requires review. For some programs, that can support faster artwork evaluation or sampling, particularly when the base button design is already established.
The limitation is consistency of contrast. Natural materials such as horn, shell, corozo, and wood vary from piece to piece, so the same laser settings may not create identical visual density across every button. Buyers should define whether a natural variation range is acceptable and approve physical samples rather than relying on a digital mockup.
Molded-in logos and custom tooling
For resin, polyester, and other molded button types, a logo can be built directly into the mold face. This can produce clear, repeatable raised or recessed branding and is often appropriate for bulk garment programs with a stable design. It also allows the logo, edge profile, hole layout, and surface texture to be developed as one construction.
Tooling is a commercial and technical decision. It may be necessary when a program needs a proprietary shape, unique relief, or a logo that cannot be achieved reliably through secondary marking. Before authorizing tooling, confirm the approved artwork version, button diameter or Ligne size, thickness, construction, finish, and expected order quantity. Changes to the logo or button geometry may require tooling modification or replacement.
A molded-in logo is not automatically the right answer for every program. For a limited seasonal run, a stock shape with laser marking or another suitable secondary process may be more practical. The right route depends on the visual objective, forecast volume, development budget, and repeat-order plan.
Printed and color-filled logo details
Printing and color filling can create contrast where a plain engraved or molded logo would be difficult to see. Color fill is typically applied into a recessed mark, while printing places color on the surface. Both approaches may suit selected materials and finishes, but they require careful review of adhesion, coverage, edge clarity, and expected end use.
Pantone references help establish the intended color direction, but color matching is influenced by the base material, surface texture, gloss level, transparency, plating, and batch variation. A Pantone code should be treated as a target for development, not a replacement for physical approval. If the logo color is critical to a uniform, workwear, or brand identity program, establish an approved sample and tolerance expectations before bulk production.
Start With a Production-Ready Logo Brief
The best logo method is easier to identify when the brief is complete. At minimum, specify the button material, size in millimeters or Ligne, button type, logo placement, artwork file, preferred finish, and estimated order requirement. It is also useful to state whether the button will be used on shirts, denim, outerwear, knitwear, uniforms, or accessories, because garment use affects construction and finish selection.
For logo artwork, vector files are preferred because they preserve line accuracy at small scale. Include the exact logo orientation, any border or circle mark, the required front and back details, and whether the logo must be readable from a particular direction. If the artwork includes tiny trademark symbols, fine texture, or narrow letter spacing, ask for a feasibility assessment before samples are made.
Do not assume that a flat artwork file will translate directly to a curved button face. Production artwork may need simplified lettering, thicker strokes, or adjusted spacing. These are not cosmetic compromises. They are practical changes that protect recognition and consistency at the finished button size.
Sampling Is Where the Method Is Proven
A sample should answer more than whether the logo looks attractive. It should confirm legibility, depth or mark quality, color appearance, material character, hole position, shank security where applicable, and the relationship between the logo and garment fabric. Review the button under normal viewing distance as well as close inspection. A highly detailed logo may impress at 10 cm and disappear on a finished garment.
For natural materials, review several sample pieces where possible. Corozo, horn, shell, and wood can display natural grain, tone, or structure differences. These variations may be part of the intended material character, but they need to be acceptable to the brand before bulk production. The same principle applies to plated, painted, coated, or dyed surfaces, where finish variation should be assessed against the approved sample.
NZXTRIM can review logo artwork alongside the proposed material and construction so the sample route reflects production realities. MOQ, tooling needs, sampling timing, bulk lead time, and any requested testing or documentation should be confirmed for the specific button and supply plan rather than assumed from a previous project.
Plan Quality Control Around What Can Vary
Logo quality control should be tied to measurable or visible approval points. These may include logo position, orientation, readable detail, fill coverage, laser contrast, relief depth, button diameter, thickness, hole diameter, edge condition, and finish consistency. For buttons with a directional mark, define the acceptable orientation in relation to the holes or shank.
It is also worth deciding what variation is acceptable before production begins. A laser mark on natural horn cannot be judged the same way as a molded logo on uniform resin. Likewise, a hand-finished surface may have a different visual range from a highly polished molded surface. Clear approvals give factories and buying teams a practical basis for inspection.
If washing, dry cleaning, abrasion, metal detection, restricted substance requirements, or other performance considerations apply, raise them during development. The applicable scope, method, and documentation need to be reviewed against the exact material, finish, garment use, order, and delivery route.
A branded button is a small component with a large effect on perceived garment quality. The most reliable route is to select the logo method after the material and construction are defined, then approve a physical sample that reflects the real production specification.