
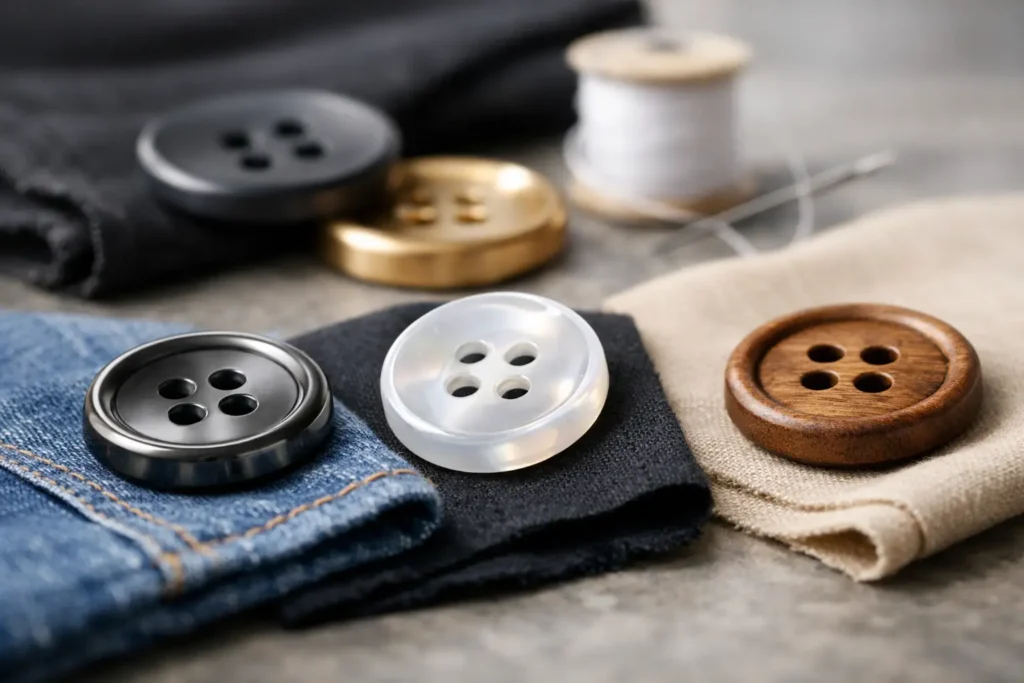
A button can look correct in a flat technical drawing and still disappoint when it reaches the garment. Its edge may appear too thick, the logo may lose clarity at production size, or a polished metal finish may feel too formal beside a washed cotton fabric. 3D button design visualization gives apparel teams a practical way to identify these issues before molds, samples, and bulk materials are committed.
For brands, garment factories, and sourcing teams, the value is not simply a more attractive presentation. A well-prepared 3D visualization helps align design intent with manufacturing reality. It creates a clearer approval point between the designer, product developer, buyer, and button factory, reducing avoidable revisions later in the development cycle.
Why Buttons Need More Than a Flat Drawing
A button is a small component, but it works at close range. Customers touch it, see it under changing light, and judge it against the fabric, stitching, and overall garment price point. This makes proportion and surface treatment especially important.
A 2D artwork file can accurately show a logo, button diameter, and hole layout. It cannot fully communicate how a rounded rim casts a shadow, how a recessed emblem reads on dark resin, or how a two-hole button sits when sewn through a heavy placket. Three-dimensional visualization fills that gap by showing the form as an object rather than a symbol.
It is especially useful when a design includes custom molding, engraved branding, layered materials, unusual geometry, or premium finishes. Standard stock buttons may require only a color and size approval. A custom horn-effect polyester button with a debossed logo, however, needs more detailed review before the factory begins tooling.
What 3D Button Design Visualization Should Show
An effective visualization is not only a polished render. It should communicate specifications that can be reviewed and translated into sampling and production. The strongest files show the button from front, back, side, and angled views, with dimensions that match the intended garment application.
Shape, Thickness, and Edge Profile
Diameter is only one part of the button’s physical presence. A 20 mm button with a high domed face will look and feel different from a 20 mm flat button with a beveled edge. Side views help confirm thickness, shank height, hole depth, and rim shape before a mold is made.
This matters for both appearance and sewing performance. A thick button may enhance a structured coat, while it can create unnecessary bulk on a lightweight shirt. Similarly, a sharp edge may suit a modern metal trim but be unsuitable for garments intended for frequent wear or industrial laundering.
Logo Details and Decorative Elements
Branding must be designed for the scale of the button. Fine lines, small letters, and shallow relief can look clear on a large screen but become difficult to read after molding, plating, dyeing, or finishing. The visualization should show the logo at actual button size, not only as an enlarged detail.
For engraved, embossed, or recessed designs, the preview should define the position and depth of the artwork. A factory can then assess whether the detail is appropriate for the chosen material and process. If a design needs adjustment, it is better to simplify or deepen it before mold development than after a first sample reveals weak definition.
Material and Surface Finish
A realistic material preview helps teams compare options that may share the same base color but have very different character. Matte resin, polished resin, natural corozo, ceramic glaze, antique brass, brushed nickel, and imitation horn each reflect light differently.
The render should be treated as a directional approval, not as a final color standard. Screen settings, lighting conditions, and digital texture libraries can change how a material appears. For production, physical color chips, approved samples, and written finish specifications remain necessary. Still, visualization makes early conversations faster by helping the team decide whether the intended effect is glossy, dry, natural, aged, smooth, or textured.
Build the Visualization Around Production Decisions
The most useful 3D button design visualization starts with manufacturing inputs, not only visual inspiration. When the development brief is complete, the rendering becomes a more reliable guide for sampling.
Begin by confirming the garment type, button location, target diameter, quantity, and expected selling position. A luxury wool overcoat, a children’s uniform shirt, and a workwear jacket have different requirements for durability, feel, finish, and cost. The right design depends on its use.
Next, select a realistic material direction. Resin offers broad color matching and flexible molding options. Corozo provides a natural, premium appearance with organic variation. Metal supports weight, durability, plating, and sharp branded details, but it may require consideration of corrosion resistance, garment weight, and cost. Recycled materials can support sustainability objectives, although available colors and surface consistency may differ from virgin materials.
Then define the attachment method. Two-hole and four-hole buttons are familiar and versatile for many garments. Shank buttons create a cleaner front appearance and can work well on coats, knitwear, and decorative applications. The visualization should include the back construction because it affects sewing, reinforcement, and garment drape.
Finally, specify the finish in factory language. Instead of requesting a button that looks “premium,” describe the expected surface: high polish, soft matte, frosted, pearlescent, brushed, antique, enamel-coated, laser-engraved, or plated. Clear terminology reduces interpretation differences between teams.
A Practical Review Process Before Sampling
A digital approval should be structured, not informal. When several stakeholders comment on a render without a defined checklist, development can stall over subjective preferences. A focused review keeps the project moving.
Review the button first in isolation, then on the intended garment fabric or a close visual substitute. A button that appears balanced against white may look too dark against navy, or too reflective against a textured wool. Check the button scale against the placket, pocket, cuff, or waistband where it will be used.
Confirm that the logo orientation is correct in every view. This is particularly relevant for shank buttons and directional icons. Also review the hole size and placement. These details must suit the sewing thread, machine capability, and garment construction, not only the visual concept.
For custom projects, document approval changes in a single version-controlled specification. The final file should identify size, thickness, material, color reference, finish, artwork version, attachment type, and quantity. This gives the button manufacturer a dependable basis for mold evaluation and sample development.
Where Digital Visualization Has Limits
3D visualization reduces uncertainty, but it does not replace physical sampling. Natural materials such as horn and corozo have inherent grain and color variation. Antique finishes on metal can vary within an acceptable production range. Recycled resin may show subtle differences depending on the source material and color formulation.
Digital rendering also cannot fully test strength, sewing performance, wash resistance, plating adhesion, or wear over time. These require physical samples and, when appropriate, garment testing. For uniforms, children’s apparel, outerwear, and high-use workwear, functional verification should carry as much weight as visual approval.
The best process uses both stages. Digital visualization helps teams make faster design choices and avoid unnecessary sample rounds. Factory samples confirm that the approved concept can be manufactured consistently at the required quality level.
From Approved Render to Bulk Production
Once the visual direction is approved, the factory converts it into production-ready information. For a molded button, this may include mold structure, cavity layout, material formulation, color matching, logo depth, and finishing method. For metal buttons, it can include die development, base material, plating specification, coating, and attachment construction.
At this stage, a capable manufacturer should identify risks early. For example, a requested engraving may be too fine for a chosen button size, a highly reflective finish may reveal minor surface marks, or an unusually thin profile may not provide enough strength for a shank. These are not reasons to abandon the design. They are opportunities to refine it before large-scale production begins.
NZXTRIM supports this transition from design concept through sampling, quality review, and bulk manufacturing. The goal is to preserve the visual intent while creating a button that can be made efficiently, inspected consistently, and delivered on schedule.
Use Visualization to Make Better Approvals
For apparel teams managing multiple styles and suppliers, 3D visualization can become a useful part of the development standard. It gives purchasing managers a clearer view of what they are approving, helps designers protect their original direction, and allows factories to evaluate manufacturability before production deadlines become tight.
The strongest custom button projects begin with a clear visual idea and finish with an equally clear production specification. When your next collection depends on a distinctive button, prepare the render with real material, construction, and garment-use decisions behind it. That preparation gives the sample a better chance of being right the first time.