
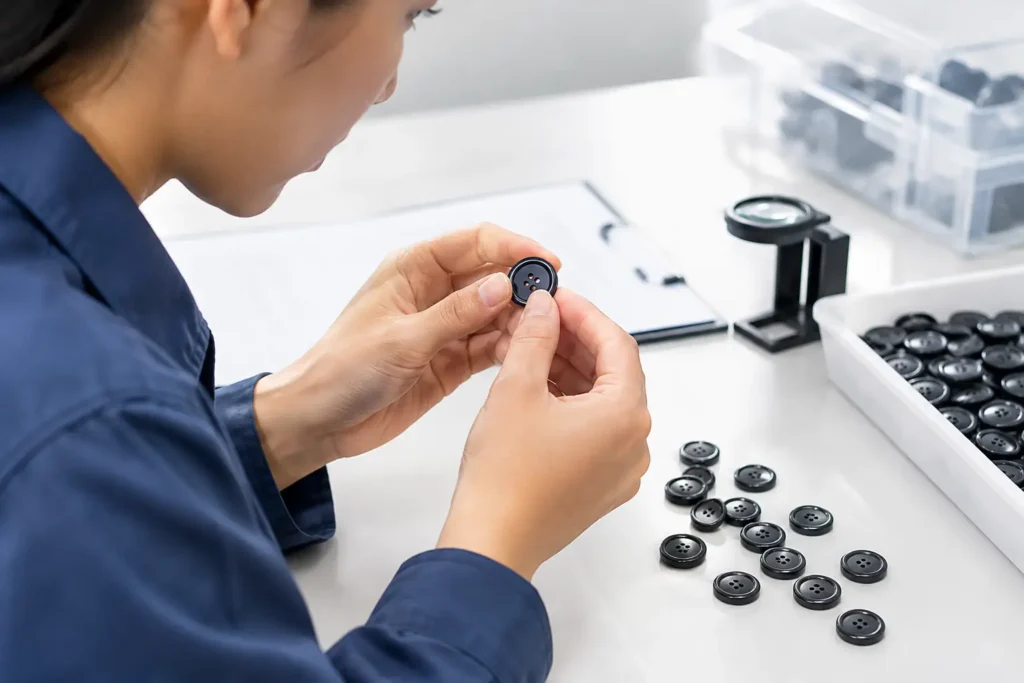
A button can meet the approved size, material, and logo specification yet still be unsuitable for a garment program because its finish is inconsistent. Button finish inspection is the process of checking the visible and tactile surface characteristics that determine whether buttons look uniform on a finished garment, across sizes, and from one production lot to the next.
For apparel teams, the objective is not to demand a visually impossible “perfect” surface. It is to define what is acceptable for the selected material and finish before bulk production starts. A high-polish metal button, for example, requires different visual criteria from a natural horn, corozo, shell, or wood button. The inspection standard must reflect that difference.
What Button Finish Inspection Should Control
Finish inspection begins with an approved reference. This may be a physical development sample, a signed-off production sample, or a clearly documented approved standard retained by both buyer and manufacturer. Digital artwork and concept renders help communicate design intent, but they cannot fully establish acceptable surface texture, gloss, color variation, or edge quality.
The inspection should review the button under defined viewing conditions. Light source, viewing distance, orientation, and handling matter. A minor mark that is not visible on a sewn garment at normal viewing distance may be commercially acceptable. The same mark can be unacceptable on a polished logo button positioned at the center front of a tailored jacket.
A practical finish review commonly considers surface appearance, color or plating tone, logo definition, edge condition, back construction, and consistency within the lot. These points should be evaluated together rather than as isolated checks. A button with clean engraving but inconsistent plating may still create an uneven appearance on the garment.
Surface appearance and gloss
Surface appearance includes scratches, pits, sink marks, flow lines, dust inclusions, polishing marks, coating irregularities, and uneven gloss. The likely defects depend on the material and process.
Resin buttons may show molding flow or surface sink if the shape, thickness, pigment load, and processing conditions are not balanced. Metal buttons can show polishing lines, plating variation, or handling marks. Ceramic surfaces may show minor glaze character that needs to be assessed against the approved sample. Natural materials such as horn, corozo, shell, and wood may retain grain, veining, pores, tonal movement, or other characteristics inherent to the material.
The commercial question is whether these characteristics support the intended product appearance. For a uniform program button, the tolerance may be narrow. For a natural-material collection, controlled variation may be part of the design. That decision should be written into the specification instead of being left for interpretation during final inspection.
Color, plating, and visual matching
Color evaluation is often more complex than a Pantone reference suggests. Pigmented resin can be developed toward a requested Pantone color, but the final result can be influenced by button thickness, gloss level, base material, and surface texture. A matte finish will reflect light differently from a polished finish, even when the pigment formula is similar.
For plated metal buttons, the base metal, polish level, plating process, protective topcoat, and production lot can affect the apparent tone. Terms such as antique brass, gunmetal, black nickel, or light gold are useful starting points, but they are not complete production specifications on their own. A physical approved sample is the most reliable reference for visual matching.
Inspection should compare buttons across the same lot, not only against one sample. A lot may appear acceptable at the beginning and end while containing visible variation between production batches. This matters especially when buttons will be placed close together on a garment front, cuff, or double-breasted closure.
Logo and decorative details
Engraved, debossed, embossed, laser-marked, printed, and filled logos require finish inspection at the detail level. Check that the logo is centered, legible, and consistent in depth or contrast. Fine lines that look clear in artwork can soften when transferred to a small button face, particularly when the selected material, curvature, or surface texture limits detail resolution.
Decorative rims, recessed fields, enamel-like fills, imitation horn effects, and two-tone finishes also need defined visual boundaries. The buyer should identify which features are critical to brand recognition and which minor variations are acceptable. This helps prevent a visual concept from being treated as a production-ready standard before sampling has confirmed feasibility.
Build the Inspection Standard During Sampling
The best time to establish finish criteria is during physical sampling, not after bulk production has been scheduled. Sampling reveals how the selected material, construction, size, logo method, and finish interact in reality.
A useful sample review records the button size and Ligne, material, color reference, finish description, logo artwork revision, construction type, and approved front and back appearance. It should also note material-specific characteristics that are acceptable. For instance, a natural corozo button may allow visible organic grain, while a coated resin button may require more uniform color coverage.
Photographs can support this record, especially for communication between design, sourcing, and garment factory teams. However, photographs should not replace a retained physical approval sample when precise gloss, texture, or metal tone is important. Screen settings, camera exposure, and lighting can distort these details.
If the garment program uses multiple button sizes, inspect each size separately. A logo that works on a 24 Ligne button may need adjustment for a 16 Ligne cuff button. A plating tone can also appear different on a smaller or more curved component. Approving one size does not automatically approve every related size.
Set Practical Defect Limits Before Production
Inspection criteria become commercially useful when they distinguish critical defects from acceptable material character. The categories should reflect garment use and visual placement.
Critical visual issues may include incorrect logo artwork, wrong color family, major plating loss, sharp edges, broken shanks, incomplete holes, or defects that are obvious when the garment is viewed normally. Less significant issues may include minor backside marks or natural grain that does not affect appearance, sewing, or function.
It also helps to define the inspection zone. The button face is usually the most visible area. The rim, sidewall, holes, shank, and back may have different acceptance levels depending on whether they are exposed in wear. For a reversible garment or a button used as an external decorative feature, the back may require closer visual control than it would for a standard front closure.
Avoid specifications that simply state “no defects.” This wording creates uncertainty because every material has process limits and natural variation. A better standard identifies the unacceptable condition, where it appears, and how it will be evaluated. For example, the requirement may address scratches visible at normal viewing distance on the button face, rather than every microscopic handling mark.
Inspect by Lot, Not Just by Individual Sample
A single approved sample proves that a design can be made. It does not prove that the same finish will remain consistent across a production run. Bulk inspection should therefore include representative checks across packing units, production timing, sizes, and finish variations.
The inspection plan should pay close attention to mixed lots. When buttons are produced in more than one batch, or when a garment order will be assembled over time, the risk is not always an obvious defective button. It may be a gradual shift in color, gloss, plating tone, or logo sharpness that becomes noticeable only after sewing.
Button packaging also affects finish quality. Polished, plated, coated, and glossy surfaces can be marked by friction or contact during handling and transit if they are not packed appropriately for the finish. The planned packing method should be considered during sample review when surface protection is especially important.
For garment factories, an incoming check remains useful even when bulk buttons have been reviewed before shipment. Confirm the item code, size, construction, color or finish reference, logo orientation, quantity, and visible lot consistency before buttons enter the sewing line. Finding a mismatch before sewing is far less disruptive than sorting garments after assembly.
Match the Inspection Method to the Button Material
There is no single finish inspection method for every custom button. Metal requires close control of surface preparation and final appearance. Resin requires attention to color distribution, molding quality, and coating if used. Natural materials require a shared understanding of allowable organic variation. Shell and ceramic can need special review for their surface character and edge condition.
The correct level of control also depends on the garment category. Luxury tailoring, uniforms, outerwear, denim, childrenswear, and fashion shirts place buttons in different visual and functional contexts. A hidden internal button may allow a different finish standard from a front-placket logo button. The material, construction, and use case should be reviewed together before the specification is finalized.
NZXTRIM can support this process by translating an approved button concept into a physical sample and a clearer production specification. The most reliable projects are those where the buyer provides the intended appearance, critical visual details, garment use, target quantity, and required delivery timing early enough to review material and finish trade-offs.
A well-defined finish inspection standard does more than identify defects. It gives design, sourcing, button production, and garment assembly teams the same visual reference before small differences become a bulk-production issue.