
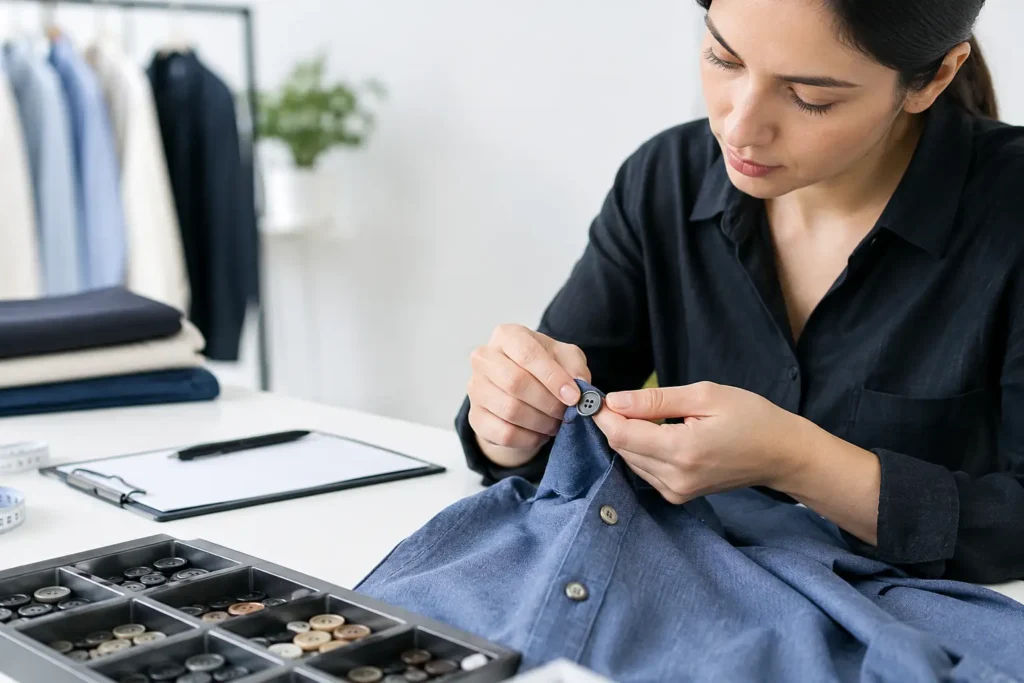
A button that looks correct on a development board can still fail the garment program if its test scope is unclear. This button testing scope guide helps apparel teams define what must be reviewed before approving a custom button for bulk production. The objective is not to test everything by default. It is to test the risks created by the material, construction, garment use, care route, customer requirements, and market destination.
For a fashion shirt, the priorities may be appearance after laundering and stable color. For a workwear garment, repeated washing, attachment performance, and corrosion risk may require closer attention. A decorative metal button on an outerwear style has a different risk profile from a resin four-hole button on children’s apparel. The testing plan should follow the product specification, not a generic checklist.
What a Button Testing Scope Guide Should Define
A useful scope starts by identifying the exact button being assessed. “Metal button” or “natural button” is not enough for production control. The specification should state the base material, finish, size, thickness, construction, shank or hole configuration, logo process, color target, and intended garment placement. If the button has a plated surface, painted finish, resin coating, laser mark, insert, or assembled component, record that detail as well.
The scope should also identify the garment and its expected conditions of use. Consider whether the item will be washed at home, commercially laundered, dry cleaned, dyed after sewing, garment washed, stone washed, or exposed to salt air, sweat, sunscreen, fragrance, or frequent abrasion. These conditions can affect materials differently. A finish that is suitable for a lightly used fashion garment may not be appropriate for industrial laundering or a heavily washed uniform program.
Finally, agree on the assessment method, sample quantity, acceptance criteria, and decision point. A request to “test the buttons” is too broad to manage. The production team needs to know whether testing is required before material approval, after sample approval, during bulk production, or on finished garments. The buyer should define what result is acceptable and what happens if a result falls outside the agreed range.
Start With Material and Construction Risks
Material selection determines much of the testing scope. Corozo, resin, metal, shell, horn, wood, ceramic, and recycled-content materials do not respond to moisture, heat, chemicals, impact, and abrasion in the same way. A buyer should avoid transferring assumptions from one button category to another.
For example, a metal button may require attention to finish wear, corrosion exposure, sharp edges, and the connection between cap, shank, and backing components. A dyed natural material may need review for shade variation, washing behavior, and the effect of moisture on the surface. Resin buttons can vary according to resin formulation, colorant, construction, and finish. Shell and horn have natural variation that should be defined as an appearance expectation during sampling rather than treated as a bulk-production defect later.
Construction matters as much as raw material. A two-hole button, four-hole button, sew-through button, shank button, snap-style component, or multi-piece decorative button experiences force differently. The thread path, garment fabric weight, stitch count, button diameter, and button stand all affect attachment performance. If the garment team changes a button from four-hole sew-through construction to a shank construction after sampling, the original test scope may no longer be sufficient.
Separate Button Tests From Garment Tests
One common sourcing mistake is treating a component test as proof of finished-garment performance. A button can be reviewed independently for dimensions, visual finish, and material-related concerns, but the stitched attachment can only be meaningfully assessed on the intended garment construction.
Attachment evaluation should use representative fabric, interfacing, thread, sewing method, and buttonhole or fastening design. A heavy button on a lightweight woven fabric may distort the placket even if the button itself is dimensionally correct. Similarly, a buttonhole can show wear or cutting issues that are unrelated to the button material but still affect the finished product.
For programs with garment washing or dyeing, test garments should represent the planned process as closely as possible. A loose button, finish change, staining, or color shift may originate from the garment process, the trim, or the interaction between the two. Reviewing only loose buttons can miss that distinction.
Define Appearance Criteria Before Sampling
Appearance review is often treated as subjective, but it can be made more practical. Before physical samples are approved, establish the reference standard for color, gloss, logo clarity, surface texture, edge quality, plating tone, and natural variation. A Pantone reference may help define a color target, but it does not by itself define acceptable variation across materials, finishes, or production lots.
For engraved, debossed, embossed, or laser-marked logos, the artwork needs clear minimum line weights, depth expectations, placement tolerances, and legibility requirements. A logo that is visible on a large digital rendering may fill in, soften, or lose contrast at actual button size. Physical sampling is the right stage to confirm whether the concept is production-ready.
The same principle applies to natural and recycled-content materials. Their visual character can be part of the design intent, but the buyer should document which variations are acceptable. If a program requires highly uniform color and surface texture, some materials or finishes may need additional development, tighter sorting, or a different material choice. That decision can affect cost, yield, lead time, and available production options.
Build the Scope Around Real Use Conditions
The most efficient test plan is tied to credible failure modes. If the button will be exposed to repeated laundering, the scope may include appearance retention, color transfer concerns, dimensional stability, and attachment review after the relevant care process. If it is used on outdoor apparel, moisture and corrosion exposure may be more relevant. If it is decorative and located where bags or belts rub against it, abrasion may deserve attention.
Chemical review should be planned early when a buyer has material restrictions or retailer-specific requirements. The required substances, reporting format, sample type, laboratory method, and timing should be defined for the actual button construction and supply route. A claim about recycled content, material origin, or chemical suitability should not be assumed from a previous style or another supplier’s document. It must be verified for the specific material and order.
Do not overlook packaging and shipment conditions. Some plated, coated, or natural buttons can be affected by humidity, pressure, or contact with unsuitable packing materials. If the garment program will hold components in storage for an extended period or ship through humid routes, include packaging and storage expectations in the production specification.
Use Sampling to Reduce Test Risk
Sampling is not only a design approval step. It is the point where the buyer can challenge the specification before tooling and bulk commitments. Request samples that represent the proposed material, finish, color, logo method, size, and construction. If a production process involves plating, dyeing, coating, assembly, or special surface treatment, the sample should reflect that route where possible.
A development sample may be suitable for visual direction but not for final performance evaluation if it was made with a temporary process or substitute material. Ask whether the sample is a concept sample, a tooling sample, a pre-production sample, or a bulk-representative sample. Each has a different value. A clear sample status prevents a visual prototype from being treated as final production evidence.
When the risk is high, build the review in stages. First confirm material feasibility and appearance. Then review production-representative samples. Finally, inspect bulk output against the approved standard. This sequence may add time at the front of the project, but it can reduce rework, rejected bulk goods, and late changes to garment construction.
Set Responsibilities and Timing Clearly
Testing scope becomes workable when responsibilities are assigned. The brand or buying team typically defines end-use conditions, required protocols, acceptance limits, and destination-market requirements. The garment factory confirms sewing construction and garment-process conditions. The button supplier confirms material feasibility, sample status, production controls, and any limits that should be considered before bulk approval.
NZXTRIM can review a button specification with the development team to identify questions that should be resolved before sampling or production. However, the final scope should reflect the buyer’s actual garment program, customer requirements, and approved use conditions. There is no universal test package that can replace that project-specific review.
Allow time for tool development, physical samples, evaluation, adjustments, and any required third-party review before the bulk delivery window becomes fixed. Late testing requests are costly because they may require a revised material, finish, construction, or packing method after production has already started.
A well-written testing scope does more than reduce risk. It gives design, sourcing, factory, and quality teams the same definition of an acceptable button before the first bulk carton is packed.