
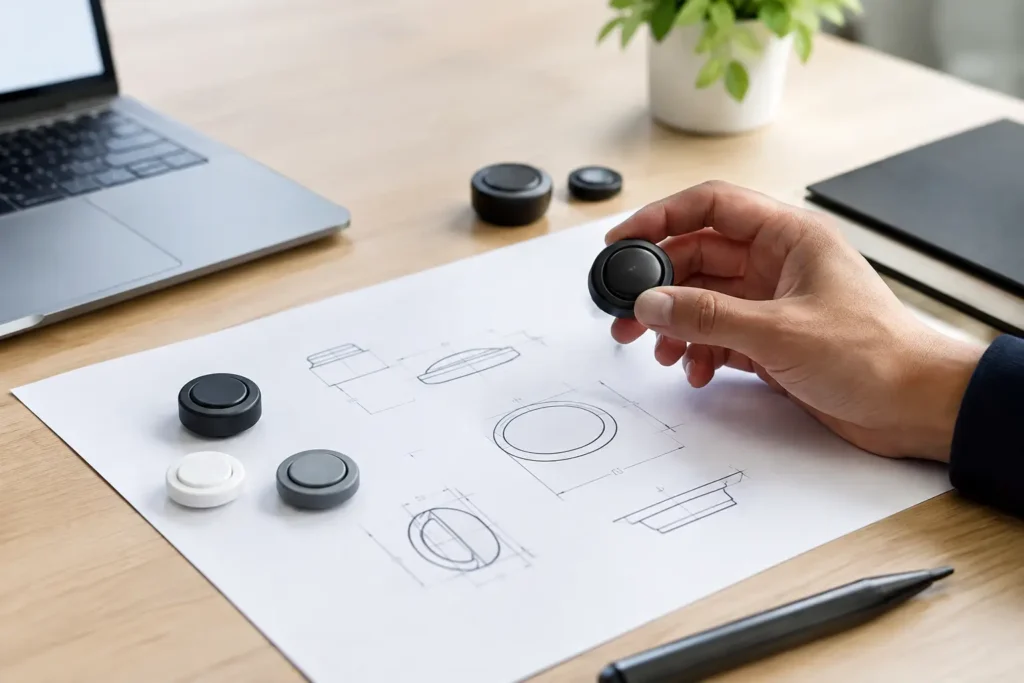
A button design can look complete in a tech pack and still be impossible to quote or sample accurately. The difference is usually missing production information. Knowing how to document button specifications means translating an intended look into measurable requirements that a button factory, garment factory, and quality team can interpret the same way.
For a custom button, the specification should answer three questions before sampling starts: What must the button look like? How must it be constructed? What conditions must it meet on the finished garment? A reference image alone answers only the first question, and often not completely.
How to document button specifications for production
Create one button specification for each unique button style, even when several styles share a material or logo. Assign a clear internal style code, such as BTN-SS25-014, and use that code consistently on the tech pack, purchase order, sample comments, and approval record. This prevents a 20 mm shirt-front button from being confused with a 15 mm cuff button made in the same finish.
Start the document with the button’s intended garment position and end use. A lightweight blouse, denim overshirt, tailored wool jacket, workwear overshirt, and children’s garment can place very different demands on a button. The garment use affects material selection, construction, attachment method, required pull performance, washing exposure, and the acceptable weight of the trim.
A useful specification is not necessarily long. It is complete enough that the supplier does not need to make design decisions on your behalf. Where a point remains open, label it as pending rather than leaving it unstated.
Identify the material and material appearance
Name the intended button material first: corozo, metal, resin, shell, horn, wood, ceramic, or another approved option. If the design is based on a visual reference rather than a confirmed material, state that clearly. For example, “natural ivory corozo appearance, material under review” is more useful than simply writing “ivory button.”
Material affects more than appearance. Corozo may show natural variation and absorb dye differently from resin. Shell can vary in luster and surface character. Metal finishes can change the perceived color under different lighting. Horn, wood, and natural materials can have grain, tonal variation, or surface marks that should be considered during approval. Recycled-content requests also need to be reviewed for the selected material and order rather than assumed from a concept description.
Specify whether natural variation is acceptable, controlled within a reference sample, or not suitable for the program. This is especially relevant when a garment uses many buttons in a visible row.
State size in millimeters and Ligne
Use millimeters as the primary measurement and include Ligne when it is part of your organization’s trim system. A specification such as “18 mm / 28L” gives the factory a direct dimensional target. Do not rely only on terms such as small, standard, or oversized.
Record the nominal diameter, and clarify any dimensional tolerance required by the garment design. If the button is shaped rather than round, provide the overall length and width. For domed, thick, or molded styles, include the total thickness or profile height where it affects buttonhole passage, placket appearance, or packing.
Buttonhole compatibility must be reviewed alongside diameter. A button that measures correctly can still be difficult to button if the shank, edge profile, or thickness was not considered when the buttonhole was developed.
Define the construction, not just the silhouette
The construction determines how the button is attached and how it sits on the garment. State whether the design is a two-hole, four-hole, sew-through, shank, snap-related component, or a specialist construction. For sew-through buttons, specify the hole count, hole position, hole diameter if critical, and whether the holes are recessed.
For shank buttons, document the shank material, shank orientation, shank opening, and expected clearance from the button back to the garment. A shank that is too tight may be difficult for the sewing operation; one that is too tall can cause the button to rock or sit away from the garment.
Also describe the face and edge. Terms such as flat, concave, convex, rimmed, horn-effect, pearlized, matte, polished, brushed, antique, or textured can help, but they should be supported by a reference image or physical sample. For a logo button, indicate whether the face must remain flat enough for engraving, embossing, debossing, or laser marking.
Where button weight matters, provide a target or an approved sample reference. This is often relevant for light fabrics, knitwear, and garments using multiple metal buttons. Weight can vary by material and construction, so it should be confirmed during physical sampling.
Document color and finish with an approval method
Color is one of the most common sources of disagreement because words such as black, cream, gold, or navy can describe many different results. Give the factory a Pantone reference when applicable, but also state the finish required: matte, glossy, translucent, opaque, pearlescent, plated, painted, dyed, washed, or coated.
A Pantone reference is a target, not automatically a final approval standard for every material. Color behavior depends on the substrate, pigment or dye system, surface texture, and finish. Natural materials and metal finishes may require a physical sample to establish the acceptable production appearance.
For plated or metallic buttons, specify the desired visual direction, such as bright nickel appearance, aged brass appearance, gunmetal tone, or matte black. If color consistency across buttons is critical, note the comparison method and the approved control sample. Any color tolerance should be agreed for the specific material and production route.
Give logo artwork production instructions
Attach logo artwork in a usable vector format and identify the exact artwork version. The button document should state the logo location, orientation, scale, and application method. “Logo on front” is not enough when a mark must be centered, rotated to a specific reading direction, or repeated around an edge.
The main logo methods have different visual and production implications. Engraving and debossing create recessed detail. Embossing raises the design. Laser marking can produce fine artwork on suitable surfaces. Printed or filled details may require their own color and durability review. The smallest reproducible detail depends on the material, button size, surface curvature, and chosen process.
If a logo must align vertically on a shank button or remain readable after garment attachment, include an orientation note. It is far less costly to resolve this on an artwork proof or sample than after a bulk order is packed.
Include quantity, packaging, and commercial assumptions
A production-ready button specification should state the required quantity per garment, the expected order quantity, and whether the request is for development sampling, size-set sampling, or bulk production. These stages may have different practical requirements for tooling, color development, and lead time.
Record the requested packaging format if the garment factory needs buttons in a particular count, bag, card, or carton arrangement. Packaging can affect line efficiency and reconciliation, especially where multiple button sizes are supplied for one garment style.
It is also helpful to identify which details are fixed and which can be optimized for manufacturability. For example, a brand may require the logo, size, and material appearance to remain fixed but allow the factory to recommend a hole diameter, back profile, or coating approach. Clear flexibility can improve feasibility without changing the intended design.
Build an approval path into the document
The strongest specifications define how the button becomes approved. Include the reference samples, artwork proof, color chip, and garment sample that must be reviewed. Identify who can approve the button on behalf of design, development, sourcing, and quality. A single named approval owner reduces conflicting comments late in the process.
Testing or performance requirements should be described in relation to the garment’s actual use, care instructions, and customer requirements. Confirm the relevant test scope, documentation needs, and any market-specific requirements for the exact button material and order. Do not assume that one material, finish, or prior project establishes suitability for every new program.
A practical approval record should capture the approved sample date, style code, material, finish, artwork revision, and any accepted variation. Photos are useful, but physical control samples are often more reliable for surface feel, luster, weight, and natural-material variation.
A concise specification format your team can reuse
Use these fields in a tech pack or dedicated trim sheet:
- Internal button style code and garment style reference
- Garment position and quantity per garment
- Material, visual reference, and permitted natural variation
- Diameter in millimeters and Ligne, plus thickness or profile where needed
- Construction, hole or shank details, face shape, and edge profile
- Color target, finish, and physical approval reference
- Logo artwork revision, placement, orientation, and marking method
- Sampling stage, estimated quantity, packaging, and requested delivery timing
- Performance, documentation, and approval requirements specific to the program
NZXTRIM can review a specification before sampling to identify missing construction details, material limitations, tooling considerations, and points that need a physical approval. The goal is not to make every button document more complicated. It is to make the decisions visible early enough that the sampled button is a credible basis for bulk production.
A well-documented button gives design room to be specific and gives production room to be accurate. Treat the first physical sample as part of the specification, not as a substitute for one.