
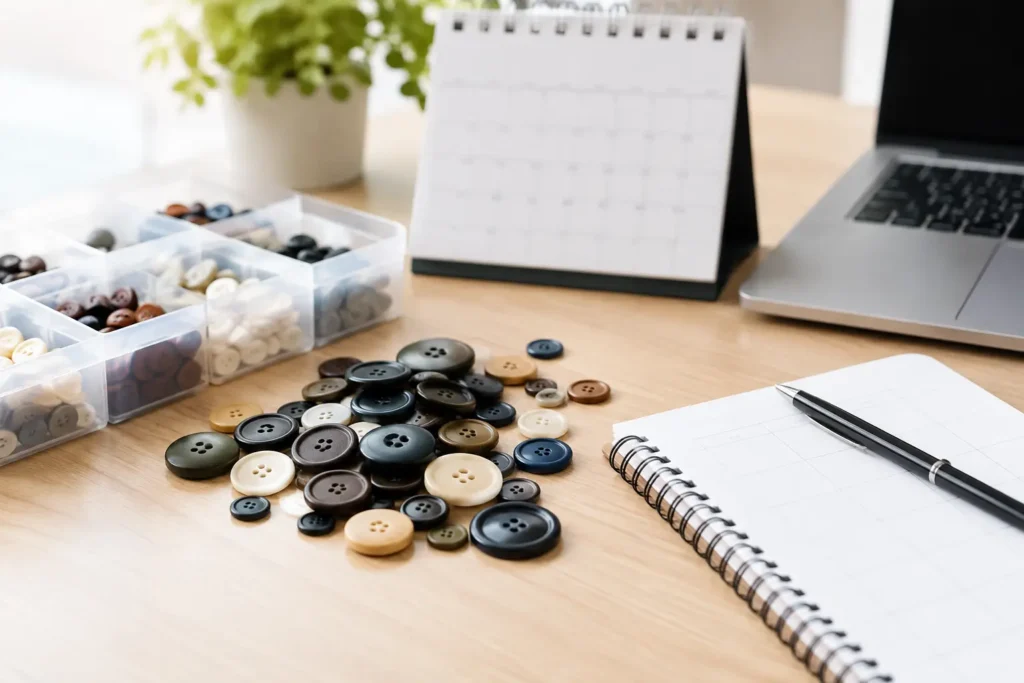
A button that arrives one week late can hold up a finished garment order, even when the fabric, labels, and packaging are ready. Knowing how to plan button production lead times means planning backward from the garment factory’s required trim-in-house date, not forward from the day a design is approved.
For custom buttons, the calendar is shaped by decisions made before bulk production begins: material feasibility, size, construction, logo method, color approval, tooling, sample review, order quantity, and shipping route. A visual concept may be enough to start a discussion, but it is not yet a production-ready specification. The earlier those details are resolved, the more dependable the production plan becomes.
Start with the garment factory’s trim-in-house date
The most useful deadline is not the retail launch date or even the garment ex-factory date. It is the date the garment factory needs approved bulk buttons on site to begin or continue sewing. Ask the garment team how much buffer they need for receiving inspection, line preparation, replacement stock, and sewing flow.
Then work backward. Allow time for international freight, export preparation, bulk manufacturing, pre-production confirmation, physical sampling, design development, and internal brand approval. Each stage needs an owner and a decision deadline. If the brand has not selected the button material or logo treatment, the project is still in development rather than production scheduling.
For example, an apparel team may set a trim-in-house date in early August. The button supplier may need a confirmed purchase order and final approved sample well before the planned bulk completion date. The freight booking must then fit the factory’s delivery window, rather than assuming finished goods can move immediately.
Separate development lead time from bulk lead time
A frequent planning mistake is asking only, “What is the lead time?” Custom button lead time is not one block of time. It is a sequence of dependent stages, and the longest unresolved stage usually determines the schedule.
Development and specification confirmation
This stage establishes what will actually be made. It can include selecting corozo, metal, resin, shell, horn, wood, ceramic, recycled material, or another suitable option; confirming diameter or Ligne size; choosing sew-through or shank construction; defining thickness; confirming hole arrangement; and deciding whether the logo is engraved, debossed, embossed, laser-marked, printed, or otherwise applied.
A metal button with a custom die and raised logo has different development needs from a standard four-hole resin button with a solid color. Natural materials also require particular care because appearance can vary between pieces and production lots. If color, grain, texture, polish, or marbling matters to the design, define the acceptable visual range before sample approval.
The design file should include the button artwork at usable scale, dimensions, finish references, intended garment use, target quantity, delivery destination, and required delivery date. Pantone references can guide color development, but a Pantone number alone does not remove variation caused by material, finish, surface texture, or viewing conditions. Physical approval remains the practical control point.
Tooling and physical samples
New tooling may be needed when a button uses a new shape, logo, border profile, shank configuration, or decorative relief. Tooling should be considered early because it can affect both development timing and cost. Reusing an existing form may shorten the path, but only if size, construction, appearance, and brand requirements are genuinely suitable.
A physical sample is where the concept becomes measurable. Review it for dimensions, weight, hole placement, back construction, edge quality, color, logo legibility, and overall appearance on the garment fabric. A sample approved in isolation can still create problems if the logo disappears against a dark shell, the button feels too heavy for lightweight shirting, or the shank height affects sewing operation.
Build time for a complete review cycle, including shipment to reviewers, consolidated comments, revisions, and a final approval record. Multiple uncoordinated reviewers are a common source of avoidable delay. One named approver or a clear approval hierarchy keeps the schedule moving.
Bulk production and quality review
Bulk lead time begins only when the order quantity, approved sample, final specifications, and production instructions are confirmed. Changes after this point can require material reallocation, revised setup, further samples, or new tooling. Even a seemingly small change, such as moving from matte to high gloss or changing the button color, can affect the production path.
The production plan should include an agreed quality review point before final packing. Define the characteristics that matter most to the garment program, such as diameter tolerance, hole usability, shank attachment, logo orientation, surface appearance, color range, and packing count. The relevant criteria depend on the button type and intended application. They should be confirmed for the specific product rather than copied from an unrelated trim program.
Plan by material and construction, not by category name
“Custom button” is too broad to support accurate timing. The material and construction determine how much development work is needed and where variation can enter the process.
Resin buttons can support a wide range of colors, shapes, and effects, but complex color development, multi-layer effects, or custom molds add steps. Metal buttons may involve forming, plating or finishing, logo tooling, and assembly. Natural materials such as corozo, horn, shell, and wood need realistic visual expectations because each material has its own grain, density, and tonal character. Ceramic buttons may require additional consideration around shape, finish, and handling.
Construction also matters. A flat sew-through button generally follows a different path from a shank button, a two-piece metal button, or a button assembled from multiple materials. Do not schedule based solely on a previous style that looks similar. Confirm whether the new style shares the same material, dimensions, finish, construction, tooling needs, and order scale.
Use MOQ as a scheduling input, not only a price input
Minimum order quantity affects production planning because materials, setup, tooling, and packaging need to align with an efficient manufacturing run. A small quantity can sometimes take longer than expected if it must be grouped with a suitable production cycle, while a large quantity may require staged production or more time for inspection and packing.
Provide the anticipated order quantity at the inquiry stage, along with potential size breakdowns. A program requiring 20 mm front buttons, 15 mm cuff buttons, and spare buttons is not one quantity from a manufacturing perspective. Each size or construction can have its own setup and planning requirements.
If demand is uncertain, consider separating the approved development specification from the final volume commitment. This allows the product team to complete material and sample decisions while sales forecasts are finalized. However, do not assume production capacity is reserved until the supplier confirms the production arrangement for the actual order.
Add a deliberate buffer for approvals and freight
The best buffer is placed before the garment factory’s trim-in-house date, where it protects sewing production. It should cover foreseeable events: sample feedback taking longer than planned, a revised color request, public holidays, freight booking constraints, weather disruption, customs processing, or a need to replace a short shipment.
Avoid hiding all buffer inside the supplier’s manufacturing window. That approach makes internal deadlines appear comfortable while forcing rushed decisions later. Instead, show the schedule openly: target date for specifications, sample request, sample feedback, final approval, purchase order, bulk completion, dispatch, arrival, and factory receipt.
Freight should be selected according to the real risk and cost of the garment program. Air freight can reduce transit time but may not be the right answer for every bulk order. Ocean, consolidated, express, or courier options each create different timing and handling considerations. Confirm the delivery terms, destination, consignee details, and packing expectations before goods are finished.
Keep a live critical-path tracker
A simple tracker is more useful than an optimistic promise. List each activity, its owner, planned completion date, actual completion date, and dependency. The critical path often includes artwork release, material selection, tooling approval, sample approval, purchase order confirmation, and freight booking.
Update it when a decision changes. If a fashion team requests a new logo depth after sample review, the correct response is to assess which downstream dates move, not to keep the original delivery date unchanged. Transparent revisions allow sourcing, merchandising, and garment production teams to make informed choices early.
For complex programs, NZXTRIM can review the specification and sequence with the buyer before bulk scheduling. That discussion is most effective when it begins with a complete garment timeline, rather than an urgent request for a finished button next week.
A well-planned button timeline is not built on the shortest quoted number. It is built on clear specifications, disciplined approvals, and enough time for the physical product to be reviewed before the garment line depends on it.