
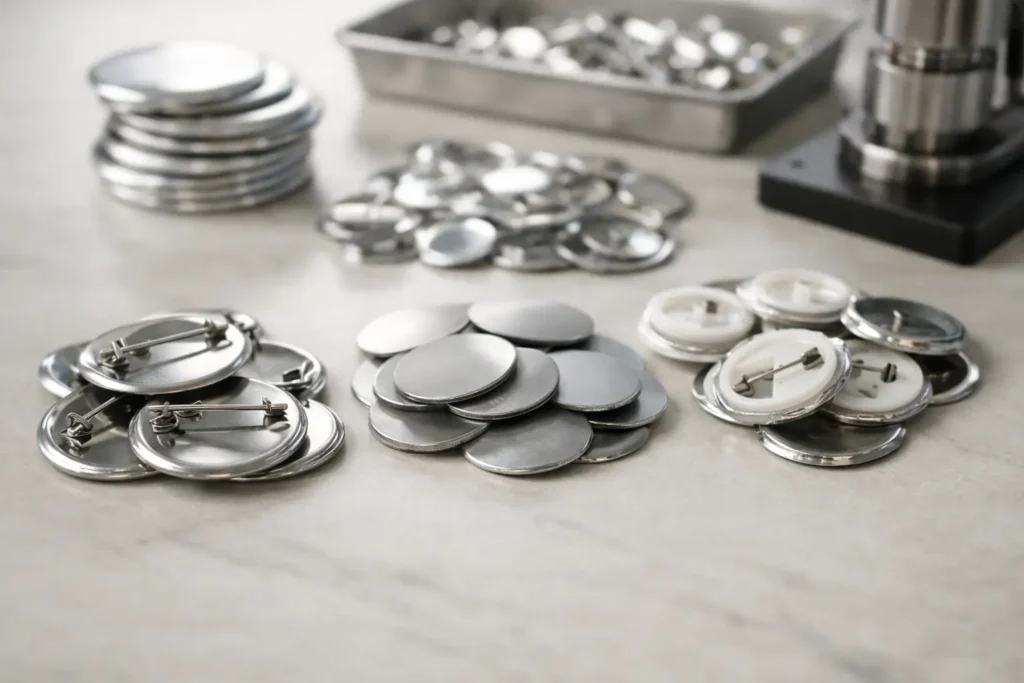
A button face may carry the logo, finish, and color story, but the back determines how the trim is attached, how it sits on the garment, and whether it remains practical at the sewing line. Knowing how to select button backs means treating the back construction as an engineering decision, not an afterthought made once the front design is approved.
For a production program, begin with the garment location, fabric thickness, opening method, sewing operation, and expected use. A tailored wool coat, lightweight viscose blouse, denim overshirt, and uniform jacket can use a similar-looking button face while requiring very different back constructions.
How to Select Button Backs by Garment Function
The correct back starts with what the button must do. Is it a functional front closure, a cuff button, a decorative placement, or one half of a two-part fastening? The answer affects attachment method, button profile, material choice, and production process.
A sew-through back, usually with two or four holes, is a practical choice for many shirts, blouses, knitwear, and casual garments. The button lies relatively close to the fabric, which can create a clean, controlled appearance. Four-hole constructions distribute thread across two axes and are widely used where stable alignment matters. Two-hole buttons can suit simpler designs, narrower shapes, or styles where the stitch should be less visible.
A shank back has a raised loop or attachment point on the reverse. It creates space between the button face and garment, allowing heavier fabric layers or buttonholes to sit more naturally underneath. Shank buttons are often specified for outerwear, tailored garments, uniforms, and styles using thicker fabrics. The trade-off is that the shank adds depth and must be evaluated carefully for pull, rotation, sewing access, and repeatability during bulk production.
Snap, tack, and stud constructions are two-part systems rather than conventional sew-on buttons. They are commonly considered when the garment needs fast opening and closing, a defined mechanical fastening action, or a metal hardware appearance. These constructions require the garment factory to use compatible setting equipment and to control fabric reinforcement, component alignment, and setting pressure. The visible cap is only one part of the specification. The mating component, post length, socket or stud type, and garment stack thickness all need to be defined together.
For decorative buttons, the back can still affect production efficiency. A non-functional button may use sew-through holes, a shank, or a special mounting approach depending on the garment design. If a button is intended to be stitched through multiple layers, placed near a seam, or applied after garment washing, state that early. A concept that looks correct on a sample board may not be efficient or stable on a production line.
Match the Back to Fabric Thickness and Buttonhole Build
Fabric thickness is one of the most common reasons a button back specification needs adjustment. A flat sew-through button that works well on a poplin shirt may look recessed or difficult to button through a thick brushed fabric. Conversely, a tall shank can make a lightweight garment look bulky and may allow excessive movement.
Assess the full material stack, not just the shell fabric. Include interfacing, plackets, facings, seam allowances, lining, padding, and any wash treatment that may change thickness or hand feel. For a functional closure, the button must pass through the finished buttonhole without forcing the fabric or leaving excessive play. The back profile affects this relationship because it changes the distance between the button face and garment surface.
Button size should be reviewed at the same time. Specify both the diameter in millimeters and the Ligne size where relevant to your sourcing system. A larger button does not automatically need a shank, but increasing diameter, thickness, and garment weight can alter how the closure performs. For molded resin, corozo, horn, shell, wood, metal, ceramic, and other materials, available thickness and back construction can also differ by process.
Choose a Back That Fits the Material and Manufacturing Method
Not every button material supports every reverse construction in the same way. A back design should respect the material’s structure, machining behavior, molding capability, and finishing process.
Corozo is often machined and can be produced with sew-through holes or a carved shank depending on the design and material section. Natural grain and dye response can introduce visual variation, so the approved sample should define the acceptable production appearance. Horn, shell, and wood also have natural characteristics that can influence thickness, drilling, edge finishing, and back geometry. A very fine shank or very thin hole bridge may not be suitable for every natural material or size.
Resin and some plastic-based constructions can offer broad freedom in molded shapes, including integrated shanks and custom back profiles. Metal buttons may use a formed or welded shank, a separate back component, or a two-part fastening construction. The choice depends on the finish, required profile, logo treatment, attachment method, and intended garment use. Ceramic buttons can provide a distinctive surface but require particular attention to shape, thickness, and attachment design because the visual concept must be suitable for practical production.
When a logo, engraving, debossing, embossing, or laser mark is planned on the face, do not let the front design dictate the back by default. A deep front relief can reduce the available material section behind it. The button supplier should review face detail, edge profile, overall thickness, and back construction as one design. This is especially useful when the button must maintain a specific weight, silhouette, or tactile feel.
Specify the Attachment Details, Not Only the Back Type
“Four-hole button” or “shank button” is a starting description, not a complete production specification. The detail inside that description influences both garment assembly and quality consistency.
For sew-through buttons, define the hole count, hole diameter, hole spacing, countersink shape if required, button thickness, and whether the holes should be tonal, contrasting, or finished in a specific way. Sewing thread selection and stitch pattern remain the garment factory’s responsibility, but the button holes must accommodate the intended operation. Holes that are too small can slow sewing or damage thread. Holes that are too large can make the stitching look loose or overly prominent.
For shank buttons, define whether the shank is integrated or separate, its opening size, height, orientation if relevant, and the required clearance beneath the button face. A shank that is technically possible may still be unsuitable if a sewing needle cannot pass consistently through it or if the finished button twists excessively on the garment.
For snaps and studs, document the full component set rather than naming only the cap. This should include the visible component, mating component, post, finish, dimensions, and intended fabric stack. Request a physical assembly review with the actual garment materials whenever possible. A fastening that sets correctly on one fabric may need a different component combination on another.
Use Sampling to Resolve Production Questions Early
A digital rendering can establish the visual direction, but it cannot confirm the actual back profile, sewing access, buttonhole interaction, material feel, or assembled appearance. Physical sampling is the point at which a design becomes a production-ready specification.
For a meaningful sample review, mount the button on the actual or representative garment fabric. Test the intended buttonhole, placket, seam placement, and layering. Ask the garment team to assess sewing speed, ease of fastening, button orientation, and how the button sits after pressing or laundering processes planned for the garment. If the trim is used across multiple styles, review the most demanding fabric construction rather than approving only the easiest application.
Changes made during sampling are usually more manageable than changes after bulk materials are scheduled. A revised shank height, slightly larger hole, different post length, or adjusted button thickness can affect tooling, material yield, process selection, MOQ, and lead time. Those commercial points should be confirmed for the specific button material, size, finish, and order quantity rather than assumed from a previous project.
Build the Back Specification Into Your Tech Pack
The clearest way to avoid ambiguity is to show the button in section as well as front and back view. Include dimensions with tolerances where needed, construction notes, material, finish, color reference, logo artwork, and the exact attachment method. If the back must be hidden under a fabric loop, operate with a particular stitch direction, or align with a buttonhole, identify that requirement in the tech pack.
Color also deserves attention on reverse details. A dyed resin button, painted metal shank, or tonal hole finish may not appear identical to the face under every viewing condition. Pantone references can guide development, but color tolerance and final appearance should be approved against physical samples for the specific material and finish.
NZXTRIM can review button face concepts alongside back construction before sampling, helping product teams distinguish an attractive visual proposal from a specification that can be produced and assembled consistently. The most useful inquiry includes garment type, fabric stack, button size, quantity range, target delivery window, artwork, and a clear note on whether the button is functional or decorative.
A well-selected button back rarely draws attention on the finished garment. That is the point: it supports the design, works with the factory’s assembly method, and gives the button face the right position and purpose from first sample through bulk production.