
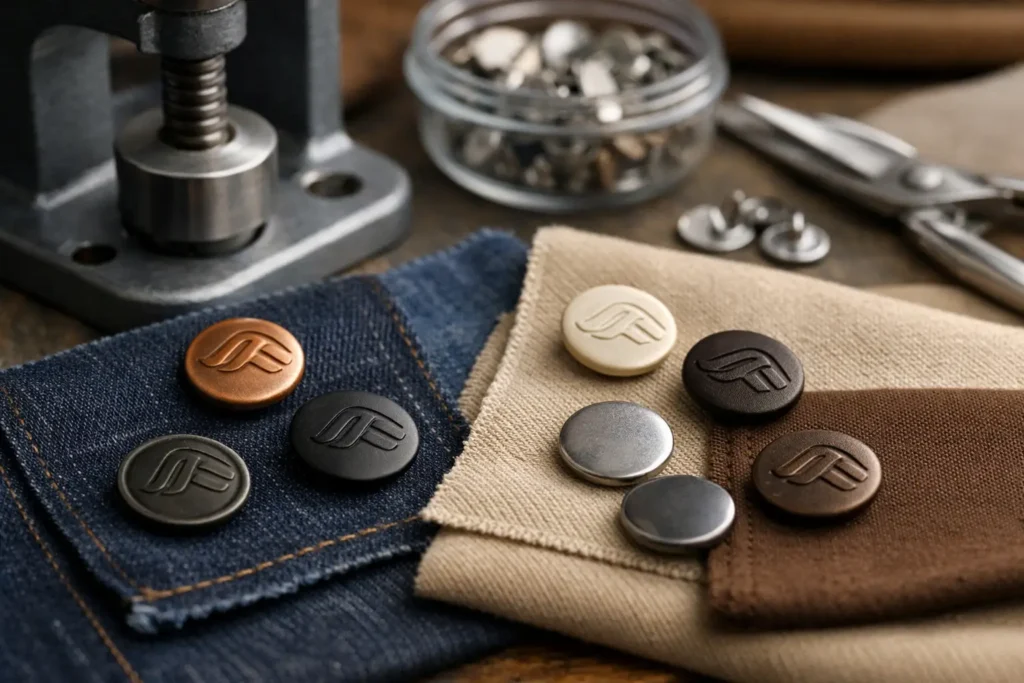
A button can be only 15 millimeters wide, yet it often determines whether a garment feels generic or unmistakably part of a brand. On a tailored blazer, work uniform, denim jacket, or premium knitwear piece, the button is handled, seen up close, and judged against the quality of the fabric. Developing it well requires more than placing a logo on an existing stock shape.
For apparel teams asking how to develop branded buttons, the practical goal is to turn a creative direction into a component that can be manufactured repeatedly, attached efficiently, and delivered on schedule. The strongest results come when design, material selection, engineering, and quality standards are defined together from the beginning.
Start With the Garment, Not the Button
A branded button should support the garment’s function and market position. The same logo may need a polished metal button for a structured jacket, a matte recycled polyester button for casual outerwear, or a natural corozo button for a premium shirt collection. Starting with a preferred material before considering the garment can create unnecessary compromises later.
Review where the button will be used and what it must withstand. A front closure button receives more pulling force than a decorative cuff button. A button for industrial uniforms may need stronger chemical and wash resistance than one used on occasionwear. Children’s apparel requires additional safety consideration, including secure attachment performance and appropriate construction.
The fabric also affects the right decision. Heavy wool, denim, and thick coated fabrics generally need a button with enough thickness, strength, and presence to balance the garment. Lightweight shirting often benefits from a lower-profile button that passes smoothly through the buttonhole without distorting the placket. Button diameter, thickness, hole size, shank height, and edge profile should all be developed in relation to the finished garment.
Build a Clear Branded Button Development Brief
A factory can develop a custom button more accurately when the request includes concrete production information rather than only a mood board. Your initial brief does not need to be a finished technical drawing, but it should communicate the features that cannot change.
For most OEM button projects, provide the following details:
- Garment type, end use, and target customer position
- Required button sizes, thicknesses, and estimated order quantity
- Preferred material, finish, and color reference
- Logo artwork in vector format, if applicable
- Construction preference, such as two-hole, four-hole, shank, snap, or decorative style
- Required testing standards, wash method, and delivery target
A physical reference sample is also useful when the desired appearance is difficult to express digitally. This may be a competitor button, a vintage piece, a trim from an earlier collection, or an approved swatch. It gives the production team a clearer understanding of luster, weight, surface texture, and edge shape.
Define What Makes the Button Recognizable
Branding does not always mean a large, highly visible logo. In fact, an oversized mark can look crowded on a small button and may lose definition during molding or engraving. A more refined solution may be a small monogram, a repeated icon, a custom rim pattern, distinctive color combination, or a proprietary shape.
Consider how the button will be viewed in normal use. A logo engraved around the rim may be visible only at close range, which suits luxury tailoring. A raised logo on a metal shank button can create a stronger identity for outerwear or uniforms. For some brands, the most recognizable element is not the logo at all, but a consistent tortoiseshell pattern, matte finish, or contrast color used across multiple collections.
Fine text and narrow lines need special attention. Details that look sharp on a screen may fill in during molding, plating, coating, or resin production. The factory should review artwork early and recommend minimum line widths, engraving depth, and spacing that will remain legible in production.
Choose Materials Based on Performance and Positioning
Material selection affects the button’s appearance, price, production method, and long-term performance. There is no universal best choice. The right material depends on the garment category, desired hand feel, sustainability requirements, and expected production volume.
Resin buttons offer broad flexibility in color, translucency, pattern, and shape. They are commonly selected for fashion apparel because they can be developed in custom colors and finishes at a practical cost. Corozo provides a natural, dense appearance with subtle organic variation, making it popular for tailored garments and premium collections. Horn buttons offer distinctive natural character, though variation must be accepted as part of the material.
Metal buttons are well suited to denim, outerwear, uniforms, and fashion styles that need weight or a durable branded surface. They can be stamped, cast, engraved, plated, painted, or finished with antique effects. Ceramic buttons can create a refined handcrafted appearance, while recycled button materials support collections with specific environmental objectives.
Material claims should be matched to actual production documentation. If a collection requires recycled content, restricted substance compliance, or a specific testing standard, communicate this before sampling. A button may look correct while still being unsuitable for the required certification or performance target.
How to Develop Branded Buttons Through Sampling
Sampling is where a design becomes a manufacturable product. For a fully custom shape, logo treatment, or surface pattern, the process may require a new mold or custom tooling. This adds development cost and lead time, but it gives the brand control over a detail that competitors cannot simply select from a catalog.
The first sample should be evaluated as a development tool, not treated as an automatic final approval. Check it against the garment fabric in daylight and controlled indoor light. Assess the button’s color, gloss, weight, texture, logo clarity, and overall proportion. Then sew it onto a garment sample and inspect how it sits when the garment is worn, buttoned, opened, and pressed.
Small changes can have a major visual effect. A 1-millimeter adjustment in diameter, a slightly deeper engraving, or a lower gloss finish may be what makes the button feel intentional. If the button is part of a size range, review all sizes together. The logo, rim width, and hole placement should remain balanced rather than appearing compressed on smaller versions.
For color matching, provide an approved standard whenever possible. Pantone references are helpful, but actual fabric swatches remain essential because resin, metal, ceramic, and natural materials reflect light differently. A factory may need to adjust the formula to achieve the closest visual match in the selected button material.
Test the Details That Affect Production
An attractive approved sample is only one step. Before bulk production, confirm that the button can perform under the garment’s expected care conditions. Typical evaluations may include wash testing, dry-cleaning resistance, color fastness, coating adhesion, corrosion resistance for metal components, and pull strength after sewing.
The required tests depend on the application. A logo metal button for a washed denim program needs different validation from a resin button for a dry-clean-only suit. Outdoor garments, uniforms, children’s wear, and export programs may have additional requirements. Share customer standards or testing protocols with the supplier instead of assuming a standard test covers every risk.
Attachment must also be considered. The buttonhole size should suit the button diameter and thickness, while sewing thread, stitch count, and attachment equipment should suit the button construction. A well-made button can still fail in wear if the sewing process is not aligned with it.
Prepare for Consistent Bulk Production
Once the sample is approved, document the approved standard clearly. This should include the physical sample, material specification, size tolerance, color standard, finish, logo artwork, packaging method, inspection level, and delivery schedule. Clear approvals prevent a production team from interpreting a subjective instruction such as “dark antique gold” differently from the development sample.
Consistency matters especially when buttons are ordered across several purchase orders or garment factories. Color, plating tone, engraving depth, and surface finish can vary if production is not controlled against a retained approval sample. For large programs, it is sensible to confirm batch identification, pre-shipment inspection procedures, and carton packing requirements before production begins.
At NZXTRIM, custom button development is managed from material recommendation and sample review through mold development, bulk manufacturing, quality inspection, and export packing. This approach helps apparel teams avoid the common gap between a visually appealing concept and a component that is ready for repeatable garment production.
Plan Lead Time Around Development Decisions
Buttons are often selected late in a collection calendar, even though custom development may influence the critical path. New molds, custom colors, plating trials, and test approvals require time. If the button is central to the garment identity, involve the manufacturer during the earliest prototype stage rather than waiting until the bulk fabric order is placed.
There is a trade-off between uniqueness and speed. A stock button in a standard color can move quickly, while a proprietary shape with custom engraving and specialized finish creates stronger differentiation but needs a more deliberate development schedule. Neither route is inherently better. The correct choice depends on launch timing, budget, order volume, and how much the trim contributes to the product story.
A branded button earns its place when it looks right on the garment, survives the conditions it was designed for, and arrives with the same standard from first sample to final shipment. Treat it as a production component with brand value, and it can quietly reinforce every garment it closes.