
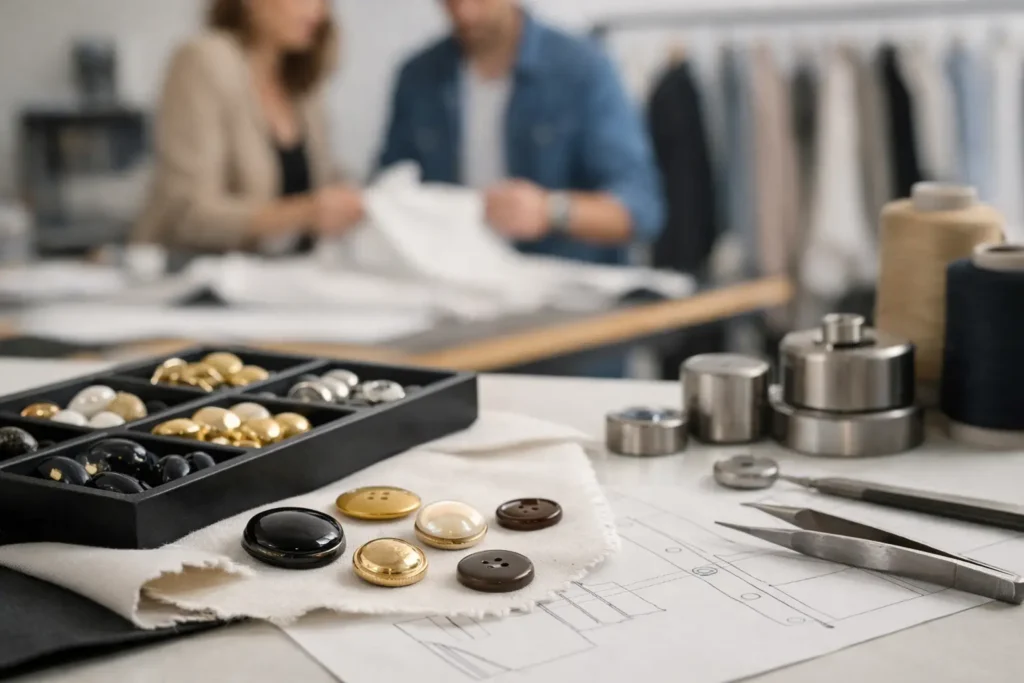
A button can look resolved in a presentation and still be far from ready for a production line. Luxury button prototyping is the process of converting that visual direction into a physical trim specification that can be sampled, reviewed, refined, and repeated at bulk scale. For apparel teams, the value is not simply a better-looking sample. It is earlier visibility into material behavior, logo clarity, construction limits, and commercial feasibility.
For premium apparel, a button is often handled at close range. Its edge finish, weight, hole quality, surface consistency, and attachment method all influence how the garment is perceived. A prototype should therefore answer more than whether the button matches a sketch. It should show whether the intended design can be manufactured consistently for the garment program.
What Luxury Button Prototyping Must Resolve
A production-ready button begins with decisions that are often left open in an early design brief. Material is one of them. Corozo may provide a natural, dense appearance with an organic grain, while metal can create sharper edges, added weight, and a more architectural surface. Shell, horn, wood, ceramic, resin, and recycled material options each bring different visual characteristics and production considerations.
The same artwork can produce very different results across those materials. A fine engraved logo that is clear on metal may lose definition on a textured natural material. A high-gloss resin surface may support a different visual direction than a matte corozo button. Color can also shift according to base material, finish, thickness, and lighting. A Pantone reference is useful as a development target, but a physical approved sample remains the practical basis for judging the final appearance.
Construction must be defined at the same time. The team needs to confirm whether the button is a two-hole, four-hole, shank, snap-style, covered, or specialist construction. Diameter should be stated in millimeters and, where relevant to the buying team, Ligne. Thickness, back profile, hole diameter, hole spacing, rim shape, and face curvature can all affect both appearance and garment attachment.
A luxury result is often determined by details that are difficult to see in a digital rendering. The transition between face and edge, the depth of an embossed mark, the cleanliness of a drilled hole, and the feel of the back surface need physical review. These details also need tolerances that are realistic for the selected material and manufacturing method.
From Design Concept to Prototype Brief
The strongest prototype briefs distinguish clearly between design intent and mandatory specifications. A mood board may communicate the desired brand character, but it cannot tell a manufacturer whether a mark should be laser-applied, engraved, debossed, embossed, or formed through tooling. Those choices should be made through a combination of visual requirement, material suitability, expected order volume, and development budget.
Artwork should be supplied in a usable vector format when a custom logo, crest, monogram, or text is required. Fine lines, tight letter spacing, enclosed areas, and very small details should be assessed against the proposed button size. A logo that reads well at 24 mm may not translate at 15 mm. When the mark is central to the product identity, it is sensible to prototype more than one execution method rather than assume the first option is the best production choice.
The brief should also identify the garment and end use. A decorative blazer button, a shirt button, an outerwear closure, and a uniform component face different handling, laundering, and attachment conditions. This information helps establish a suitable construction and identifies whether the design needs further assessment against the brand’s own performance requirements.
For efficient development, provide the intended material, size, quantity of buttons per garment, color reference, logo artwork, construction preference, surface finish, and target delivery window. If a previous button is being replaced, a retained physical reference is particularly useful. It allows the development team to compare size, feel, weight, and finishing rather than interpret those features from photographs alone.
Material and Finish Trade-Offs
There is no universal luxury material. The right choice depends on the garment price point, desired hand feel, visual language, expected wear conditions, and range architecture. Natural materials can introduce variation that contributes to character but may require wider visual acceptance criteria than a highly controlled molded material. That variation should be discussed before sampling, not after bulk production begins.
Metal buttons provide options for plated, painted, brushed, polished, antique, or coated appearances. Their construction may involve a formed shell, a solid body, a separate shank, or multiple assembled components. These choices affect weight, logo treatment, edge definition, and cost structure. A heavy metal button can enhance an outerwear garment, but it may be unsuitable for a lightweight fabric or may require attention to reinforcement and attachment.
Resin offers broad flexibility for color, translucency, marbling, embedded effects, and molded identity features. Ceramic can create a distinctive tactile quality, but its suitability depends on the specific construction and garment use. Corozo, shell, horn, and wood carry their own natural characteristics, including grain, pattern, or shade variation. A prototype should make those expected variations visible so the buyer can define what is acceptable before placing a bulk order.
Surface finish is equally influential. A polished face can expose small marks more readily than a textured or matte finish. Deep laser marking may provide a different contrast than a shallow debossed logo. Painted infill can improve legibility in some designs, yet it adds another appearance variable to review. The sample stage is where these trade-offs become concrete.
Sampling Is a Decision Process, Not a Formality
A first sample should be treated as an engineering and design checkpoint. It may reveal that the requested logo needs thicker strokes, that the desired color needs adjustment on the actual substrate, or that a shank position should move to improve garment balance. These are normal development findings, not failures.
For a new custom shape, embossed face, or distinctive logo relief, tooling may be required. Tooling creates greater control over repeatable form, but it also means that design changes after approval can have time and cost implications. Apparel teams should freeze the details that affect tooling before moving forward: outside diameter, profile, edge treatment, logo placement, relief depth, and back construction.
Sample review should be done under relevant lighting and against the garment fabric, thread, and other trims. A button that appears correct on a neutral desk can read too warm, too cool, too bright, or too heavy once attached to the intended fabric. Review more than the front face. Check the side profile, back finish, hole edges, shank orientation, attachment behavior, and consistency across the sample set.
NZXTRIM supports prototype development as a step toward defined bulk specifications, rather than treating a visual concept as an automatic production instruction. That distinction helps product teams document approvals with fewer assumptions carried into the order stage.
Plan for Bulk Production While Prototyping
The prototype is the right point to ask whether the selected material, logo method, and construction can support the planned order quantity and calendar. Minimum order quantity, tooling needs, sampling sequence, material availability, production time, and delivery planning should be confirmed for the specific project. These variables can differ substantially between a standard construction with a simple finish and a custom developed button with multiple processes.
Color management deserves particular attention. A requested Pantone color may need adjustment after it is applied to the selected button material and finish. Natural substrates can also vary between pieces or lots. The practical approach is to approve a physical reference standard, document the accepted appearance range, and retain it for subsequent production discussions. Exact color tolerance must be agreed for the specific material and order.
Quality review criteria should reflect what matters to the garment. This can include dimensions, logo position and readability, finish appearance, hole or shank construction, visible surface marks, and packing requirements. If the program has testing, destination-market, or buyer requirements, raise them before material selection and sample approval. Scope and suitability should be verified for the specific button design, order, and supply route.
Bulk planning also benefits from clear packaging instructions. Buttons may need to be packed by color, size, garment style, or purchase order, with quantities suitable for the factory’s line process. A well-made button still creates avoidable delays if its packing and labeling do not match garment factory handling.
Use the Approved Sample as the Control Point
Once design, material, construction, finish, and color direction are approved, the sample should become the reference point for production communication. Written specifications are necessary, but they do not replace a retained physical standard. Together, they give sourcing, quality, and production teams a common basis for review.
The most useful outcome of luxury button prototyping is certainty about the decisions that cannot be judged reliably on screen. When the prototype has resolved the material, construction, logo treatment, finish, and acceptable variation, the button becomes easier to source, approve, and scale with the garment program.