
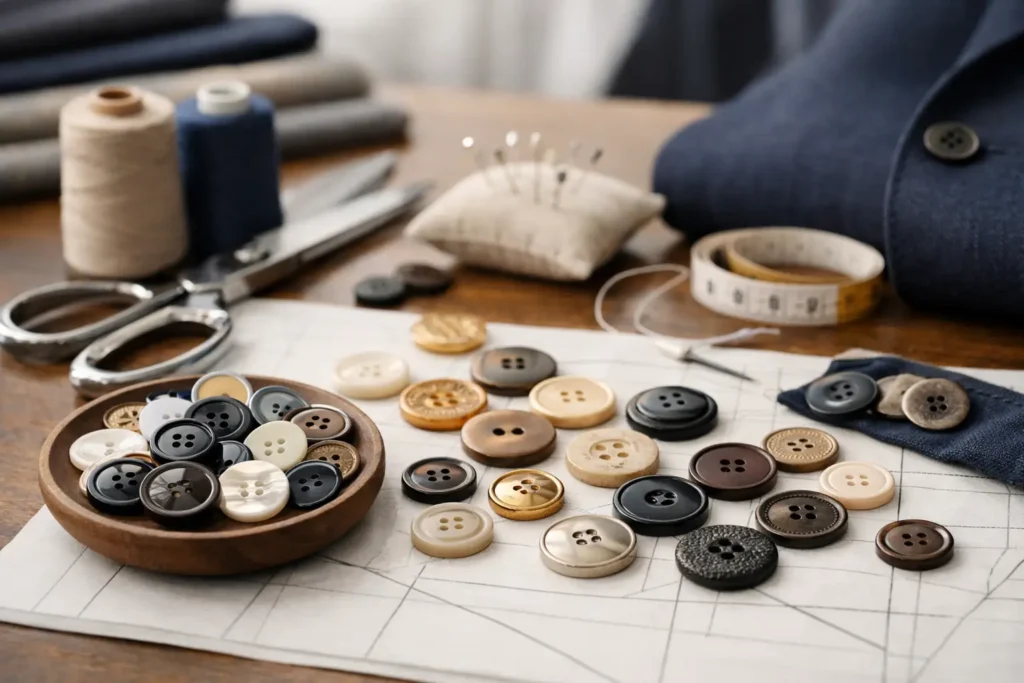
A button that looks right on a design board can still create problems at the sewing line, during wash testing, or when bulk color lots arrive. Knowing how to select garment buttons means converting a visual idea into a specification that suits the garment, production method, order quantity, and delivery plan.
For fashion brands and garment teams, the best choice is rarely the most decorative option in isolation. It is the button that provides the required appearance and hand feel while remaining practical to source, sew, inspect, and reproduce across bulk production.
Start with the garment’s real use
The first decision is not material. It is the garment category and the conditions the button must withstand. A lightweight blouse, tailored wool coat, denim overshirt, school uniform, and industrial work shirt may use a similar-looking four-hole button, but their performance requirements can be very different.
Consider the fabric weight, garment construction, buttonhole type, expected laundering, dry-cleaning route, pressing temperature, and user handling. A large, dense button may pull on a fine fabric or distort a placket. A delicate natural material may be suitable for a low-stress fashion garment but require further review for a uniform program with frequent laundering.
Also consider the attachment point. Center-front closures, cuff buttons, waistband buttons, pocket flaps, and decorative shoulder details experience different loads. A shank button may give a cleaner raised profile on a jacket, while a sew-through button often lies flatter and can be easier to stabilize on a shirt placket. The garment factory should confirm buttonhole dimensions, sewing thread, stitch pattern, and machine capability before bulk approval.
How to select garment buttons by material
Material sets the visual character of the button, but it also affects variation, tooling needs, available finishes, and production controls. There is no universal best material.
Corozo offers a natural, dense appearance with fine engraving potential and is commonly considered for shirting, tailoring, and premium casualwear. Because it is a natural material, grain and shade variation should be expected and reviewed against the approved standard. Horn, shell, and wood also bring individual material character, which can be desirable but should not be treated like perfectly uniform molded resin.
Resin provides broad opportunities for controlled color, shape, translucency, and surface effects. It is often appropriate when a program needs consistent visual direction across multiple sizes or when a specific Pantone reference is central to the design. Exact color tolerance must still be agreed through physical samples, particularly for dark shades, bright colors, translucent effects, and textured surfaces.
Metal buttons can provide weight, shine, plating options, engraved branding, or a more technical appearance. They require careful discussion of base material, construction, edge finish, coating or plating, and possible contact with the garment fabric. For outerwear, denim, uniforms, and fashion hardware programs, the button attachment system matters as much as the face design.
Ceramic can create a distinctive hard, refined surface, while shell can offer natural luster. Both may be visually compelling for selected collections, but their suitability depends on button size, shape, garment use, and handling requirements. Recycled-content or specialist materials may support a design direction, but the actual composition, available color range, MOQ, and project-specific documentation must be confirmed before a claim is included in product communication.
Specify size in millimeters and Ligne
Button size should be stated in millimeters, with Ligne where useful for industry alignment. Ligne remains common in button sourcing, but millimeters reduce ambiguity between design, sourcing, and factory teams. A reference sample is helpful, especially when a button’s apparent size is affected by a domed face, rim, or thick profile.
Size selection should follow the garment scale and buttonhole, not only the aesthetic preference. A 15 mm button may suit a fine shirt front, while a jacket front or coat may require a substantially larger size. Cuffs, collars, pockets, and waistbands often use coordinated but smaller sizes. If the same design is needed across a size range, confirm whether every size can use one button size without affecting proportion or buttonhole security.
Thickness is equally important. Two buttons with the same diameter can sew and wear differently if one has a thicker rim or taller shank. Provide target diameter, thickness, hole diameter or shank dimensions, edge profile, and acceptable tolerance rather than relying only on a photograph.
Choose construction before approving the artwork
A logo, crest, or texture may look successful in a render but become unclear at the intended button diameter. Construction determines what can be manufactured consistently.
Sew-through buttons are generally specified by hole count, hole placement, thickness, and face profile. Two-hole designs can create a simple, directional look; four-hole designs are common for stable attachment and familiar garment-factory handling. Shank buttons need details for the shank type, attachment opening, clearance, and the relationship between the shank and garment thickness.
For metal and specialist buttons, the team may need to choose between a one-piece construction, assembled construction, or a rivet-style attachment. Each choice affects appearance, sewing method, tooling, production steps, and inspection points. A decorative face does not automatically define a production-ready construction.
Make branding legible at button scale
Button logos must be designed for the available surface area. Fine text, narrow strokes, complex crests, and tiny interior spaces can fill in during engraving, embossing, debossing, molding, or finishing. A logo that reads clearly at 30 mm may not be feasible at 15 mm.
Provide vector artwork and identify the non-negotiable elements: logo shape, text, direction, depth, finish, and placement. Then review a physical sample rather than approving artwork alone. Engraving, debossing, embossing, laser marking, and printed treatments each create a different result. The correct method depends on material, contrast, desired durability, and production volume.
When a logo is secondary to the overall garment look, a simplified mark or monogram may produce a better bulk result than a full brand seal. This is not a compromise in brand control. It is a decision to protect legibility and consistency at the scale the customer will actually see.
Build a production-ready button specification
A clear specification reduces the gap between design intent and factory execution. For a custom button program, it should identify the material, size, construction, color reference, finish, logo method, artwork version, and intended garment application. Include a reference image, but do not use images as the only approval standard.
The specification should also state the required sample stage. A development sample may confirm proportions and visual direction. A pre-production sample should confirm the approved material, color, construction, branding, and finish before bulk manufacturing begins. Where relevant, retain an approved physical standard for production comparison.
NZXTRIM can review this information early to identify issues such as an impractical logo depth, an unsuitable shank geometry, a color effect that requires additional development, or a material that may not suit the intended application. Early feasibility review is less costly than revising trims after garment samples have been sewn.
Plan MOQ, tooling, lead time, and quality review together
Custom buttons are not only a design purchase. They are a supply-chain component. MOQ, tooling, sample timing, bulk lead time, packing format, and delivery requirements influence the most suitable option.
A new shape, logo mold, embossing tool, or special surface treatment may require tooling development. This can be justified for a core program or repeating collection, but may be less efficient for a small seasonal order. In some cases, an existing shape with customized color, engraving, or finish provides a more practical balance between differentiation and development effort.
Lead time should be planned from the point at which artwork, specifications, material choice, and sample approvals are complete. Color development, custom tooling, and revisions can extend the schedule. Do not assume a concept approval is equivalent to bulk approval.
Quality review should focus on the characteristics that matter for the order: dimensions, hole or shank function, surface finish, logo clarity, color comparison, visible defects, and packing requirements. Any requested testing, restricted-substance requirement, certification scope, or brand-specific protocol must be defined and verified for the exact button material, finish, order, and supply route.
Use physical samples to resolve trade-offs
Physical samples are where most button decisions become clear. Compare the button against the actual garment fabric under normal viewing conditions, then inspect it after sewing. Check whether the button sits correctly, whether the holes accept the proposed thread, whether the logo remains legible, and whether the color supports rather than competes with the fabric.
Review more than one sample when the design depends on a natural material, a translucent effect, custom dyeing, plating, or a textured finish. The objective is not to eliminate every normal material variation. It is to define an acceptable appearance standard that the supplier and garment factory can use during bulk review.
The most effective button specification is the one that gives designers the intended identity and gives production teams clear decisions to follow. Select the button with the finished garment, not the mood board, in mind.