
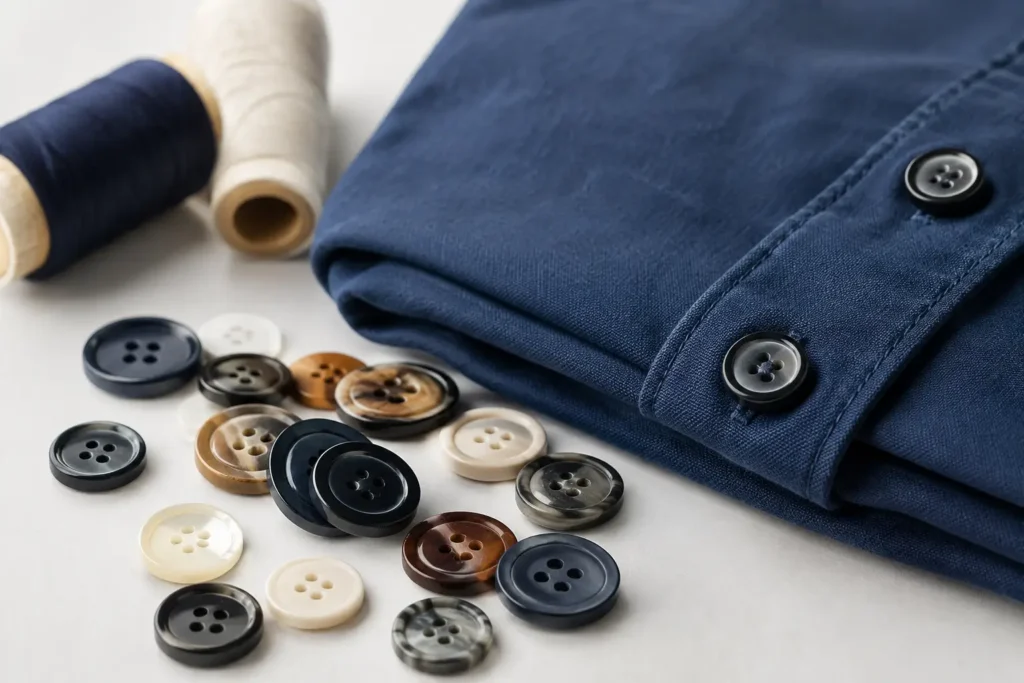
A custom button is not production-ready because it looks right in a sketch or digital rendering. Custom buttons must also suit the garment’s fabric, care process, attachment method, intended wear, and repeat-order requirements. For apparel teams, the objective is to convert a visual direction into a controlled specification that can be sampled, reviewed, and reproduced in bulk.
For a fashion collection, uniform program, or private-label garment range, buttons are small components with outsized consequences. An incorrect button size can affect placket balance. An unsuitable construction can slow sewing or create attachment issues. A logo that looks sharp on a presentation sample may need a different marking method to remain legible at production scale.
Start Custom Buttons With the Garment Requirement
The most useful starting point is not a material name. It is the garment brief. Identify where the button will be used, what it must fasten, the fabric weight, the garment category, expected care conditions, and the visual role of the trim. A shirt front, overcoat cuff, denim waistband, knit cardigan, and workwear pocket each place different demands on a button.
Size should be specified in millimeters and, where relevant to the buying process, Ligne. A size can appear appropriate in isolation but look undersized on a heavy jacket or oversized on a lightweight blouse. The number of holes, shank style, edge profile, thickness, and back construction should be considered with the sewing operation in mind. A four-hole button may suit a flat placket application, while a shank button can provide clearance over thicker fabric or a layered fastening point.
It also helps to distinguish between a design reference and a manufacturing specification. A reference may communicate the intended mood, finish, or logo placement. A production specification needs measurable details: diameter, thickness target, hole diameter or shank type, material, finish, color target, logo artwork, quantity, and packing expectations. Missing details are often where late revisions begin.
Selecting a Material for Custom Buttons
Material selection affects appearance, tooling approach, color development, surface variation, durability expectations, and cost structure. There is no single best material. The right choice depends on the garment and the visual standard the program needs to maintain.
Corozo provides a natural, finely grained appearance and is often selected for tailored apparel and elevated shirting. Because it is a natural material, visual variation should be anticipated and assessed through physical samples. Horn, shell, wood, and similar natural materials also bring distinctive character, but their grain, tone, and surface variation require clear approval criteria.
Metal buttons can support engraved marks, raised logos, plated finishes, painted details, and structured shapes. They are common on denim, outerwear, uniforms, and fashion pieces where weight and dimensional definition are useful. However, the selected construction should be reviewed alongside fabric abrasion, garment wash processes, and the method used to attach the button.
Resin and other molded materials offer broad flexibility in shape, color, translucency, and surface finish. They can be suitable when a program requires a controlled color direction, a custom profile, or a repeatable molded logo. Ceramic can create a distinctive hard, polished appearance, while specialist materials may be considered when the design calls for a specific tactile or visual effect.
Recycled-content options may be available for certain button materials and constructions. The percentage, source, appearance, processing constraints, and supporting documentation must be reviewed for the specific material and order rather than assumed from a general material category.
Construction Determines How the Button Works
A button’s face is only one part of its function. Construction determines how it is sewn, how it sits on the garment, and how it responds during use. Flat sew-through buttons, shank buttons, snap-style constructions, and composite constructions each require different technical decisions.
For sew-through buttons, confirm the hole count, hole diameter, hole spacing, and edge treatment. Small differences can affect machine sewing setup and thread coverage. For shank buttons, review shank opening, shank height, attachment clearance, and the relationship between the button back and the garment surface.
Thickness is another practical consideration. A thick button may create the desired profile on a coat, but it can be unsuitable for a narrow buttonhole or a lightweight shirt placket. If the garment is already in development, providing fabric swatches, buttonhole dimensions, or a reference garment makes feasibility review more accurate.
Logo, Color, and Surface Finish Need Physical Review
Custom branding can be created through engraving, debossing, embossing, laser marking, molded relief, printed details, or a combination of methods. The preferred method depends on the material, logo scale, line weight, button diameter, and required visual contrast.
Fine artwork does not always translate cleanly onto a small button face. Very thin lines, closely spaced lettering, and small enclosed shapes may need simplification. Raised and recessed marks also behave differently under light. A logo that is clear in a flat vector file may look subtle once formed in a dark material or textured finish.
Pantone references are useful targets for color development, particularly on resin, coated, painted, or molded buttons. They should not be treated as an automatic exact match across every material. Base color, texture, gloss level, material translucency, and production variation can change the perceived result. Physical color chips and approved samples provide a stronger basis for production decisions than screen images.
Surface finish should be stated clearly: matte, polished, brushed, antiqued, pearlescent, textured, or another agreed effect. If the program includes garment dyeing, washing, or other post-production treatment, disclose it early. The button should be assessed in the context of that process rather than approved as an isolated trim.
Sampling Is Where Design Becomes a Production Decision
Sampling should answer practical questions, not simply create a presentation piece. A useful sample review checks dimensions, weight, edge quality, logo definition, color direction, construction, attachment suitability, and consistency across the sample set.
The first sample may reveal that a logo needs larger spacing, a shank needs adjustment, or a color requires refinement. That is normal. Early revisions are generally more manageable than changes after bulk production has been released. If new tooling is needed for a shape, face design, or construction, the tooling decision should be made only after the approved design details are stable.
For multi-style collections, establish a sample approval process that identifies the approved master sample, revision number, material, finish, and date. This gives product development, sourcing, and factory teams a shared reference when bulk production begins.
Plan MOQ, Lead Time, and Quality Controls by Project
MOQ and lead time depend on material, construction, custom tooling, finish, color development, sampling rounds, order quantity, and production schedule. A standard-looking button can still require additional development if it has a custom face, unusual material combination, or tightly controlled color requirement. Confirm these variables before locking the garment critical path.
Quality expectations should be defined in terms that can be checked. This may include size tolerance, thickness range, color approval reference, logo position, hole or shank condition, surface appearance, packing method, and acceptable natural variation where relevant. Requirements for care performance, restricted substances, testing, documentation, or market-specific programs should be raised at the inquiry stage so the applicable scope can be reviewed for the exact button and supply route.
NZXTRIM coordinates custom button projects from specification review through physical sampling, bulk production planning, and delivery preparation. The most efficient projects begin with complete inputs, realistic approval timing, and a clear understanding of which details are essential to the garment’s function and brand identity.
What to Send With a Custom Button Inquiry
A productive inquiry does not need a finished technical pack, but it should provide enough information to assess feasibility. Include the intended button material if known, target size, estimated quantity, garment application, logo artwork, color reference, desired finish, and target delivery window. Photos of reference buttons and fabric swatches can also clarify expectations that drawings alone may not show.
If some details remain open, identify them as open decisions rather than leaving them implied. For example, a team may know it needs a 20 mm dark metal shank button with a raised logo but still be deciding between a brushed or antique finish. That is a workable starting point, provided the final finish is approved before production release.
The best custom button program is not the one with the most elaborate initial concept. It is the one where material, construction, branding, sampling, and bulk controls all support the garment it is meant to serve.